Removing an inner tube for repair or replacement is a lot easier if you know a few helpful tricks and don’t try and rush things. Let our experts talk you through the easiest way to fit a fresh tube and get rolling again as soon as possible.
If you are looking for more helpful maintenance advice, Cyclingnews is bringing you a series of guides so that you can learn how to perform basic bike maintenance tasks yourself. Check out the other guides that are available.
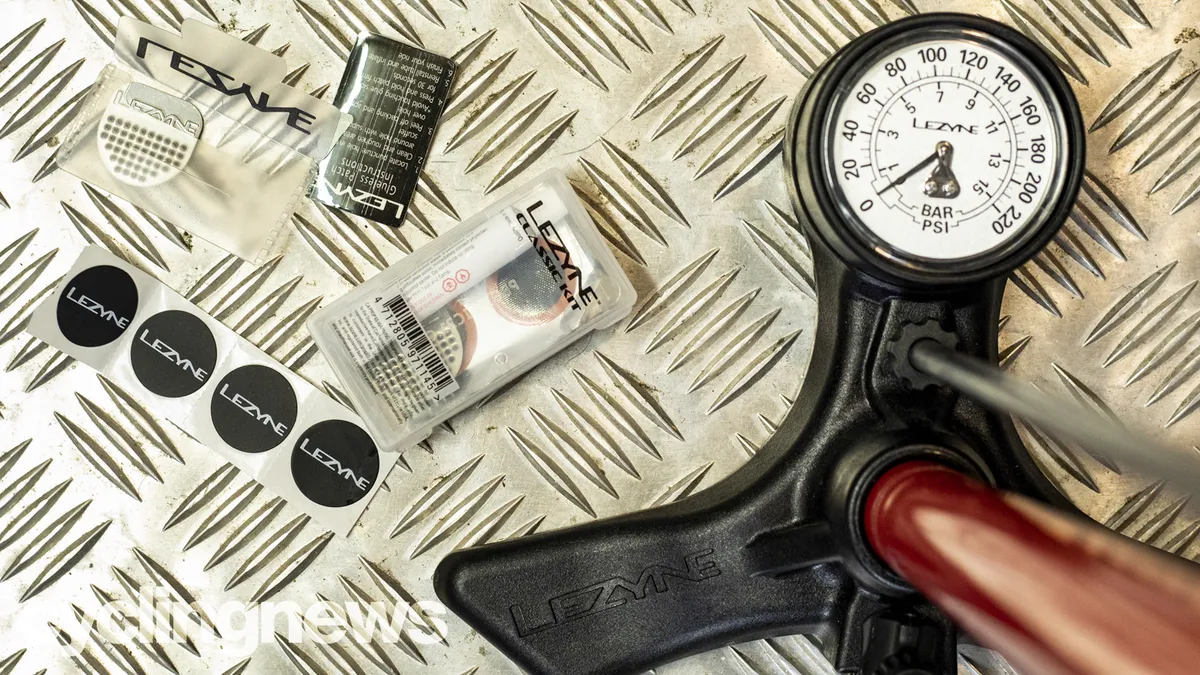
Pump with the correct valve head. A track pump will speed things up but a hand pump is fine.
A puncture repair kit or instant patches.
Removing your inner tube
1. Remove the wheel
First, you need to remove the wheel from the bike, now if the tyre isn’t already fully deflated let the air out of the inner tube. On Presta valves (the pointy ones) loosen the small barrel at the top of the valve slightly so you can press it down into the body of the valve to release the air. Now loosen and remove the valve collar that tightens it into the rim.
If you’re working on a kids bike or MTB with car type Schraeder valves then depress the pin in the centre of the valve to let the air out.
Get The Leadout Newsletter
The latest race content, interviews, features, reviews and expert buying guides, direct to your inbox!
2. Unhook the tyre
To remove the inner tube you will need to unhook the tyre from the rim. If you are unsure of how to do this follow our guide on how to remove a bike tyre for the best methods. When repairing a puncture you only need to take the tyre off the rim on one side, the other side can be left in place for a faster refit.
3. Inspect the tyre
With the inner tube removed it’s a good time to check the tyre for any damage or splits in the tread. Be very careful to check for thorns, nails etc. that are sticking through into the inside otherwise they’ll puncture the fresh inner tube as soon as you put it in.
Be careful if you’re running your finger around the inside the tyre without looking first as you don’t want to puncture yourself! Its also worth checking the rim of the wheel for cracks, dents or sharp edges too, especially if the puncture was caused by the rim impacting a square edge.
Inspect the tube to find the punctures (Image credit: Mick Kirkmann)
1. Inspect the tube
First you need to find the hole (or holes). Pump the inner tube up and listen or feel for the escaping air. If that doesn’t work, submerge the tube in water (a wash basin at home or a puddle if you’re out on the road). Don’t just assume there’s one hole either. If the puncture has been caused but the tube getting pinched between a rock or pothole and the rim (a pinch puncture) then you’ll often find two punctures close together. That’s why it’s sometimes called a ‘Snakebite’ puncture.
Clean and roughen the area around the hole, this will help the glue stick better (Image credit: Mick Kirkmann)
2. Prepare the tube for patching
Once you’ve found the hole(s), clean the area around them as best you can and dry it if it’s wet. Use the little grater (some puncture kits use a piece of sandpaper or have a rough section on the box) to roughen the area around the hole. If you haven’t got an ‘official’ roughening tool then you can always improvise with a bit of stone or brick, just anything that will scrape off the glossy vulcanised surface of the inner tube around the hole in the tube.
Apply glue around the punctured area. (Image credit: Mick Kirkmann)
3. Apply the glue
Once the area is roughened, coat it with a thin layer of glue/vulcanising solution. Let it dry on the surface while you peel the protective backing off a patch large enough to fully cover the puncture. If the patch also has a plastic outer sheet then we’d suggest pre-splitting it in the centre so it’s easy to peel off once the patch is fitted.
If your patches are self-adhesive you can skip this step as you don't need to pre-apply glue to the inner tube.
Image 1 of 4
Remove the foil backing from your regular patch(Image credit: Mick Kirkmann)
Place on to your tacky glued area and press to assure a solid adhesion(Image credit: Mick Kirkmann)
Peel off the backing of the self-adhesive patches and stick straight onto the tube(Image credit: Mick Kirkmann)
Apply even pressure to make sure it's completely stuck down(Image credit: Mick Kirkmann)
4. Patch the hole
When the glue/vulcanising solution has dried, press the patch firmly over the hole and hold it there while the glue, patch and innertube fuse together and then ‘cure’ to form a lasting bond. Leave it five minutes and once it’s fixed carefully peel off the backing film. If the edges of the patch lift up then you can use a bit more glue/vulcanising solution smeared over the edges to stick them down.
5. Final check
Some kits come with a block of chalk to shave down to stop the patch sticking to the inside of the hole. If you’re repairing at home baby powder will work too. Once you’re happy the patch is well fixed then inflate the tube gently to check for any other holes you might have missed the first time around. Repeat the fixing process on any extra leaks and then it’s time to tuck it back into the tire and get back on the road.
Once patched and air tight, refit the inner tube (Image credit: Mick Kirkmann)
6. Refitting the inner tube
Add a little air into the tube so it holds its shape a little, Insert the inner tube valve through the valve hole in the rim and tuck the tube into the tyre. You can then refit the tyre and inflate to your prefered pressure. Again if you are unsure on this process, we have a guide to help you fit a bike tyre.
Individuals carrying out the instructions in this guide do so at their own risk and must exercise their independent judgement. There is a risk to safety if the operation described in the instructions is not carried out with the appropriate equipment, skill and diligence and therefore you may wish to consult a bike mechanic. Future Publishing Limited provides the information for this project in good faith and makes no representations as to its completeness or accuracy. To the fullest extent permitted by law, neither Future Publishing Limited, its supplier or any of their employees, agents or subcontractors shall have any liability in connection with the use of this information, provided that nothing shall exclude or limit the liability of any party for personal injury or death caused by negligence or for anything else which cannot be excluded or limited by law.