How To Adjust Disc Brakes on a Bike
The arrival of disc brakes on road bikes has revolutionised all-weather control and confidence but they need correct alignment to work perfectly
Disc brakes offer excellent braking modulation and lots of power whatever the weather. They also allow the use of bigger tyres than rim brakes and they don’t care if your wheel is a bit bent. Quiet, predictable, rub-free operation depends on fractions of mm of clearance between pad and rotor though. If your brakes have started rubbing there could be several causes too, so we’ve added a menu to help check through all the possible problems as well as adjusting the calipers themselves.
If you are looking for more helpful maintenance advice, Cyclingnews is bringing you a series of guides so that you can learn how to perform basic bike maintenance tasks yourself. Check out the other guides that are available.
- How to fit a bike wheel
- How to change a bike tyre
- How to repair an inner tube on your bike
- How to remove and fit bike pedals
- How to remove and fit a bike chain
- How to adjust bike gears

Tools needed
You’ll need a 5mm Allen key or Torx T25 key depending on the mounting bolts of your brakes.
A wide screwdriver, broad tyre lever or similar flat lever can be useful for resetting the brake cylinders.
A slotted rotor straightening tool or large, clean adjustable spanner will be needed to straighten a bent rotor.
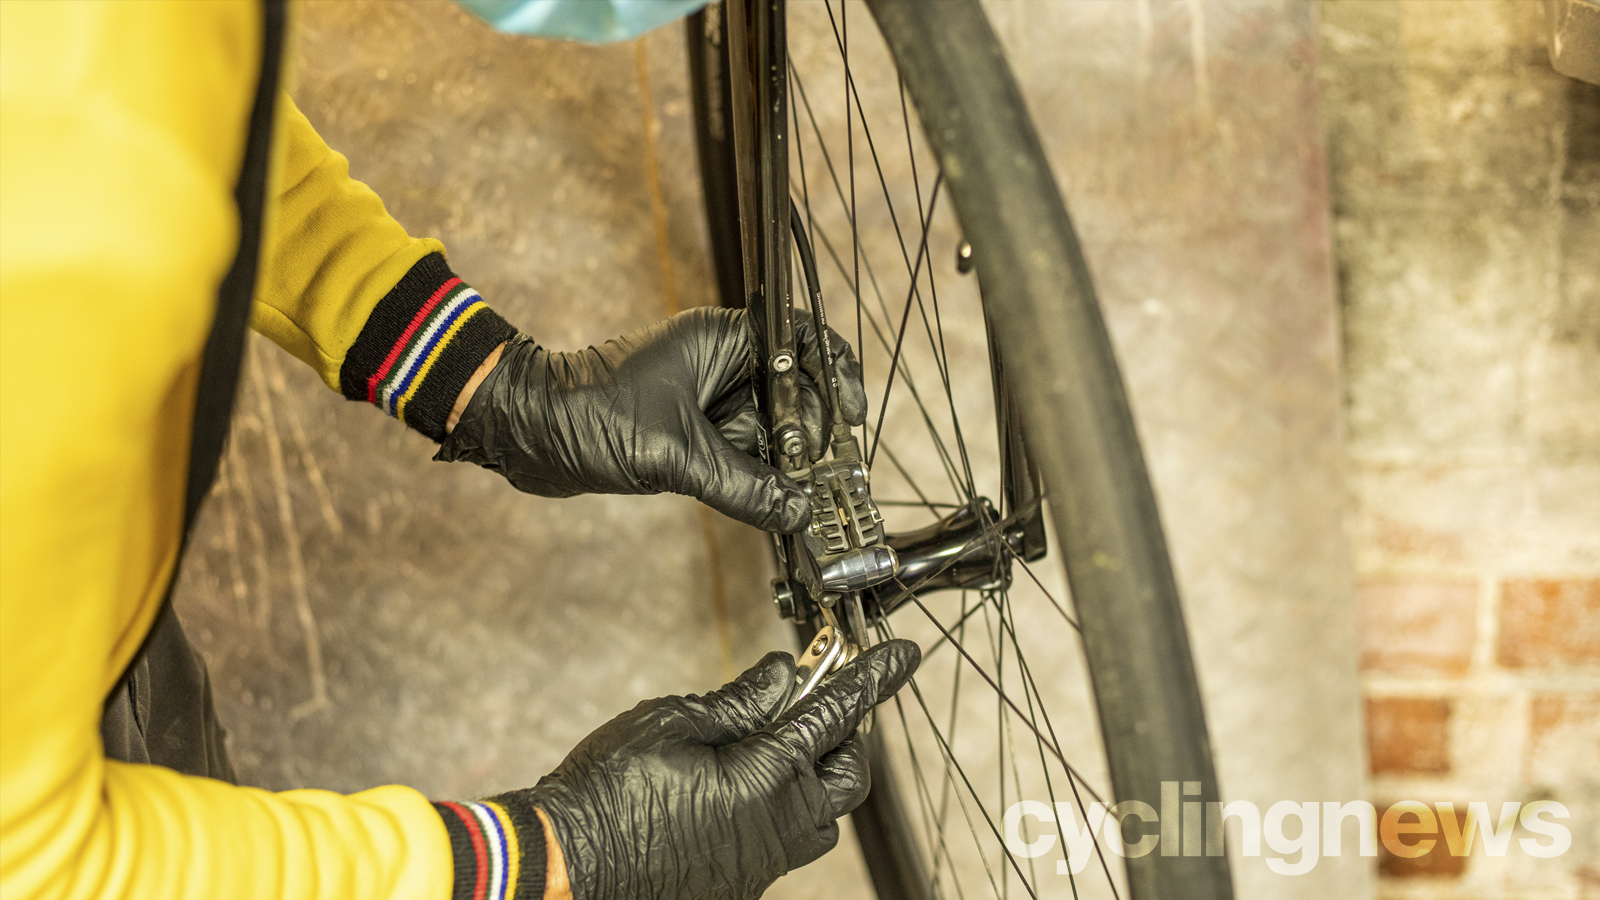
1. Inspect the caliper
First check the axles are tight and the wheels aren’t wobbling in the frame/fork. Now pull the brakes while looking down at the pads either side of the rotor. They should both move the same amount at the same time. If only one pad moves then you need to pop the wheel out and push the pistons back into the calliper using a flat screwdriver, tyre lever or specific piston tool.
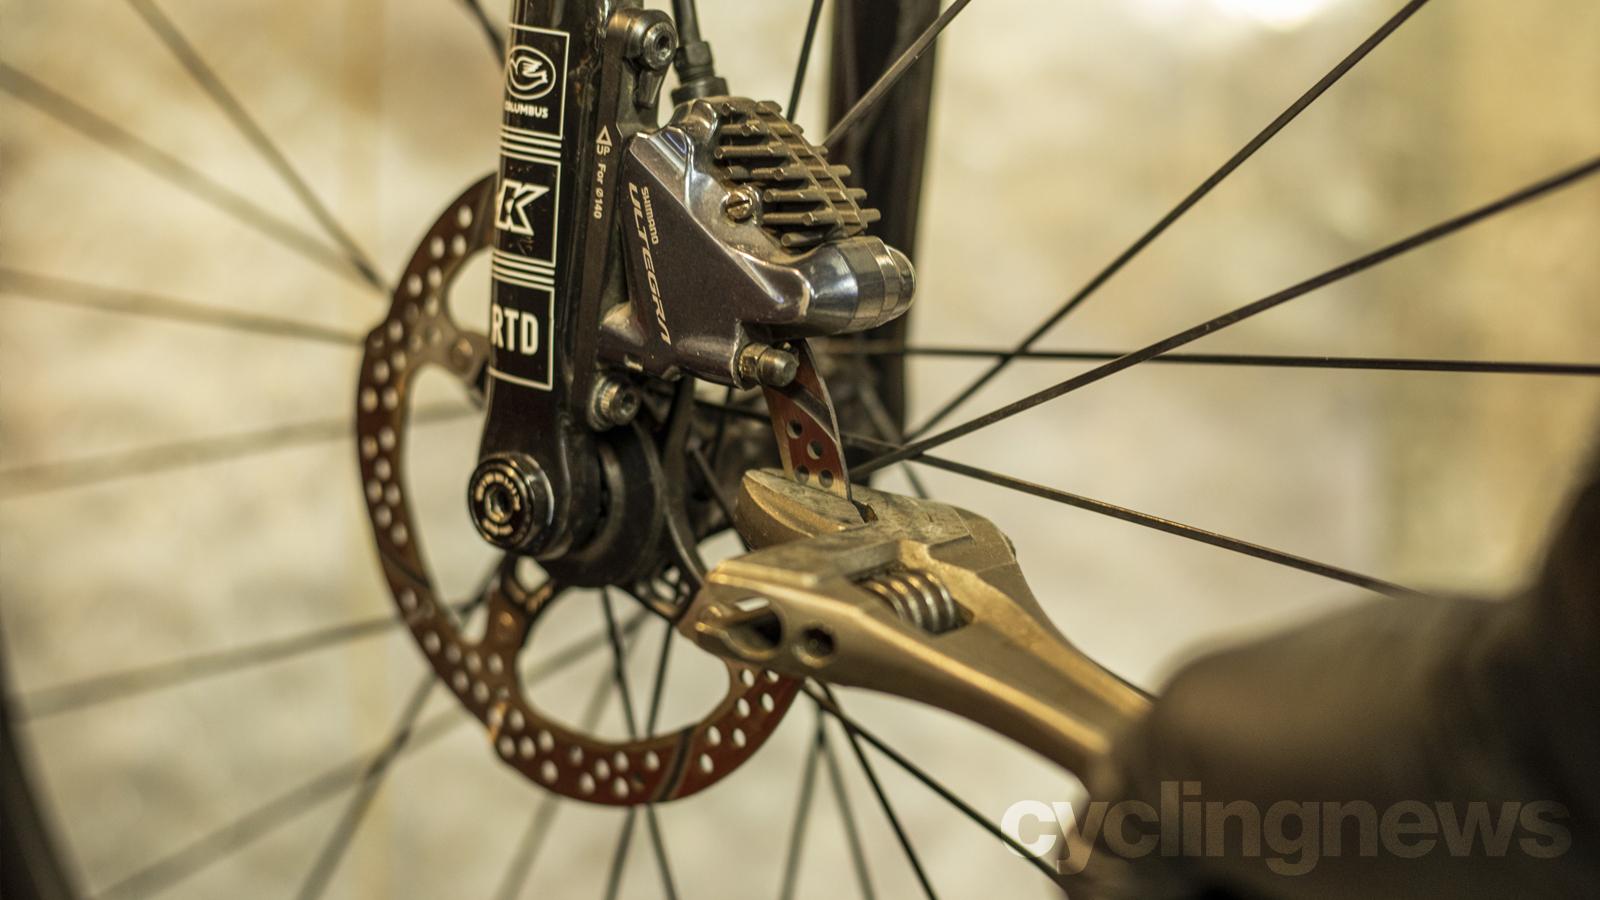
2. Check the rotor is true
If the brake is working fine check that the rotor is straight by checking for wobble as it goes between the pads. If you need to straighten it use a rotor straightening tool if you have one or a clean adjustable spanner if you don’t. Only flex the rotor very gently and gradually though as you don’t want to over bend it in the wrong direction. If you’re struggling to see the rotor between the pads position the bike over a light background. Even just a piece of white paper on the floor will do. Make sure the rotor is fixed tightly to the hub as well as that can obviously cause rub as the rotor moves slightly.
The latest race content, interviews, features, reviews and expert buying guides, direct to your inbox!
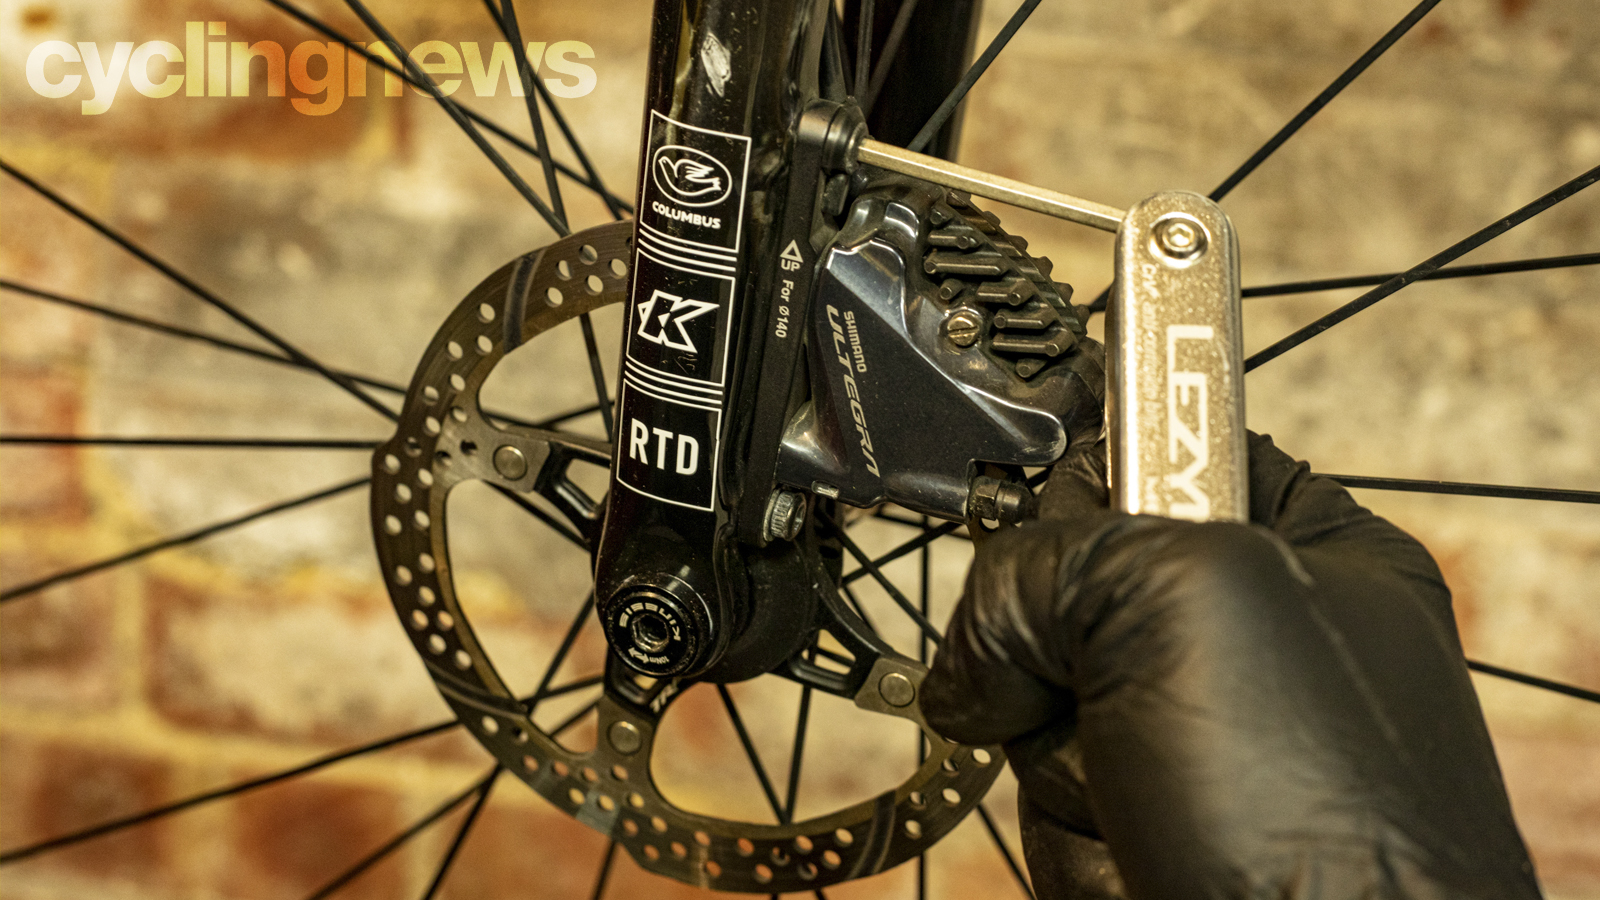
3. Centre the calliper
In most cases, the problem will have come from the brake shifting slightly or you switching wheels to one with a slightly different disc position. To re-align the brakes you need to slightly loosen the fixing bolts so that you can just shift the caliper sideways. Post-mount brakes are bolted through the caliper. Flat-mount brakes are bolted from the underside of the frame and sometimes from the far side of the fork as well.
Sometimes you can recenter the brake by pulling the lever to clamp the caliper onto the rotor. You then gently retighten each bolt alternately and, in theory, your brake will be perfectly centred and you’ll be ready to ride. Unfortunately, this doesn’t work nearly as well as most ‘how to’ guides say it should, so be prepared to line things up manually.
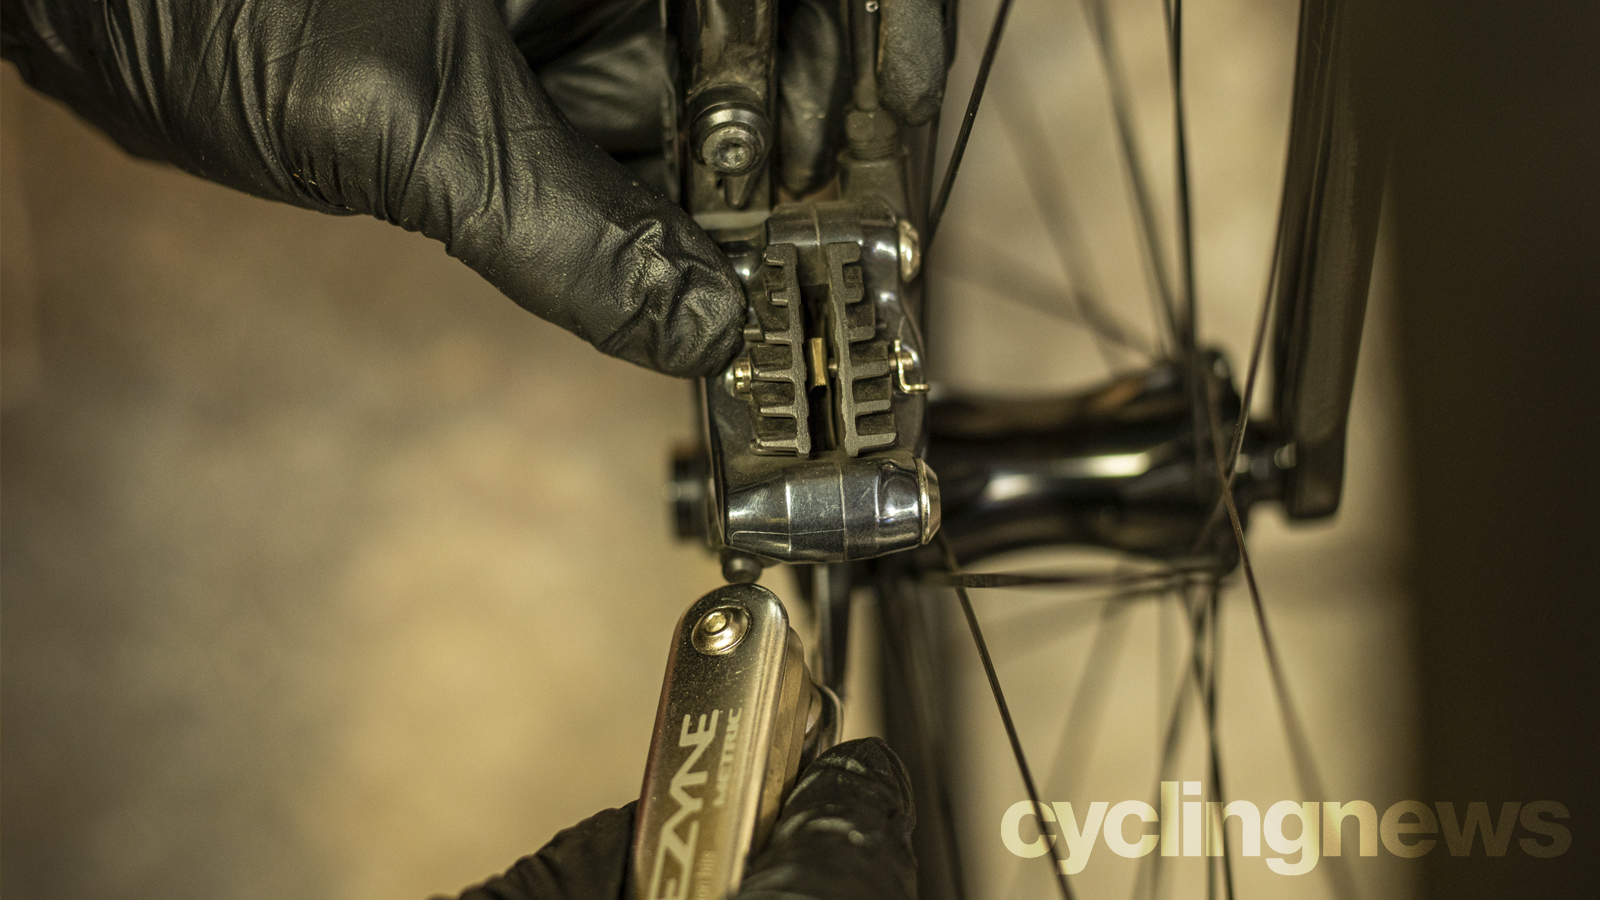
4. Manually centre the caliper
Manually aligning the brake is just a case of shifting the caliper fractionally sideways until there is a consistently clear gap between the pad and the rotor when you spin the wheel
Again, having the bolts at a tightness where you need to press reasonably firmly to move them will make subtle adjustments easier. Using a light background is also a big help for gauging a balanced brake position. Don’t be surprised if you have to make several small repositions and retighten adjustments to get the rotor running clean either.
As well as being evenly spaced looking from above make sure the caliper is perpendicular to the rotor as well by looking down the brake from the front or back. This shouldn’t be a problem with flat-mount brakes as long as the frame and fork are properly aligned. However, some post-mount brakes use pairs of concave and convex washers and these can shift slightly sideways. Again it’s just a case of small adjustments to get the rotor running clean through the brake.
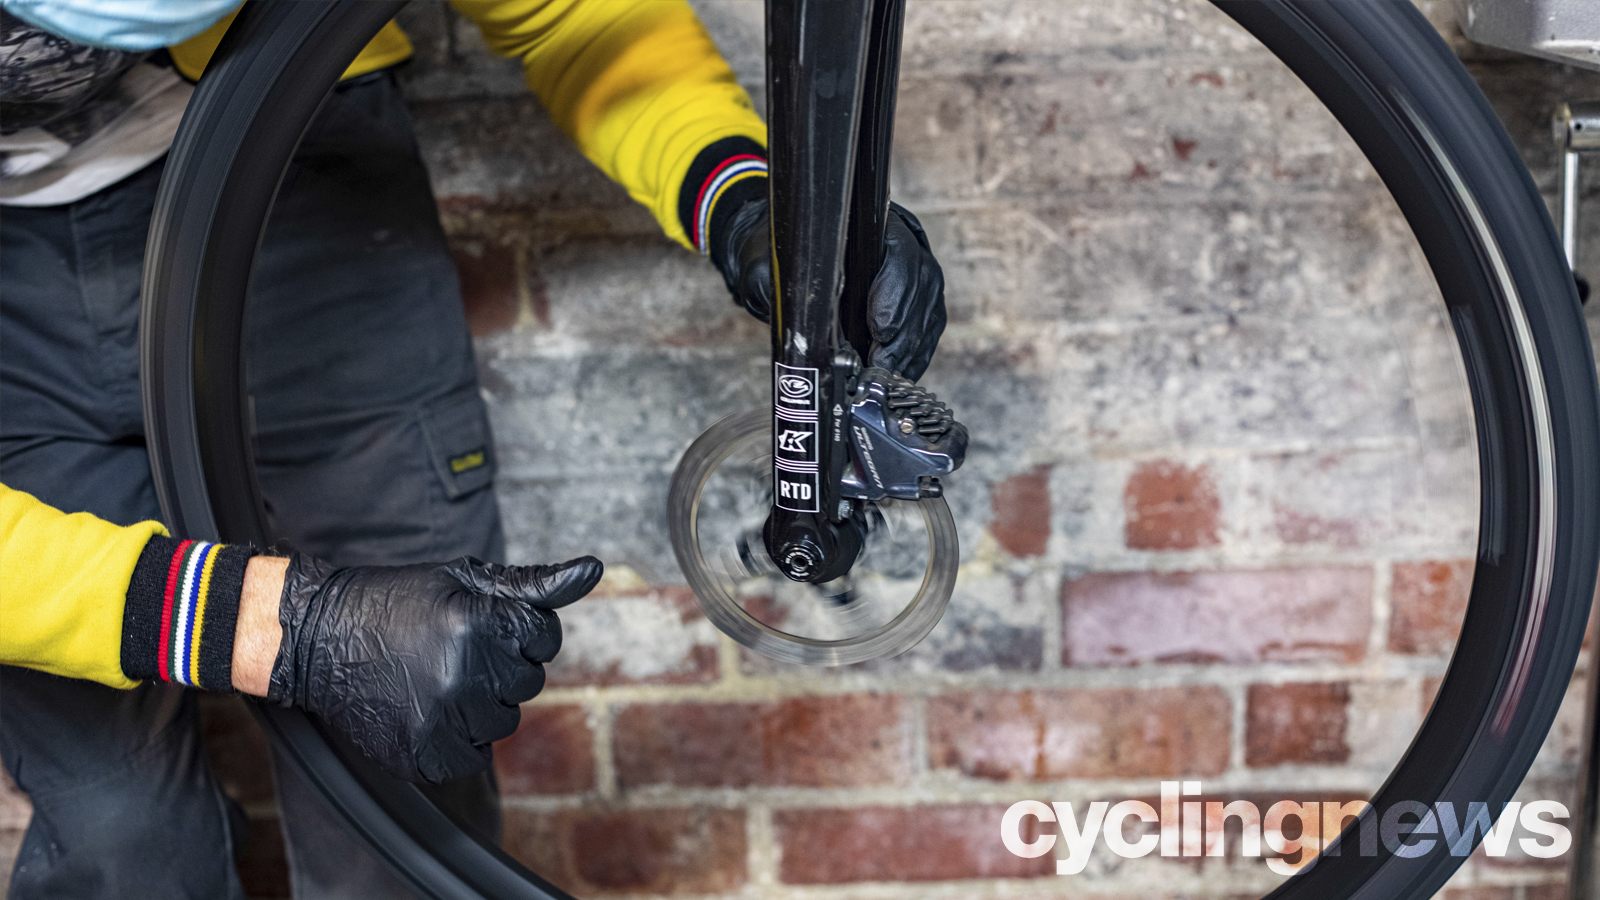
5. Tighten the caliper
Once you’re happy with the adjustment, tighten the fixing bolts using small, alternating turns on each one so the tightening torque doesn’t pull the caliper off line. Now squeeze the brakes hard a couple of times and then spin the wheel to check everything runs smoothly and presuming it is you’re now ready to ride. If not loosen, tweak and then retighten until it does.
Always check the other brake at the same time and make a quick spin of the wheel before and after every ride part of your regular ride routine as even a slight scuff can be very annoying when riding, especially in wet and/or gritty conditions.
- Road bike disc brakes: a guide to choosing the best disc brakes for your road bike
- Road bike groupsets: a comprehensive guide
Individuals carrying out the instructions in this guide do so at their own risk and must exercise their independent judgement. There is a risk to safety if the operation described in the instructions is not carried out with the appropriate equipment, skill and diligence and therefore you may wish to consult a bike mechanic. Future Publishing Limited provides the information for this project in good faith and makes no representations as to its completeness or accuracy. To the fullest extent permitted by law, neither Future Publishing Limited, its supplier or any of their employees, agents or subcontractors shall have any liability in connection with the use of this information, provided that nothing shall exclude or limit the liability of any party for personal injury or death caused by negligence or for anything else which cannot be excluded or limited by law.