Cyclingnews Verdict
Spend a little more today and you buy the option to upgrade no matter where your cycling passion ultimately takes you
Pros
- +
Upgradeable
- +
Durable
- +
Replaceable battery
Cons
- -
More expensive than the competition
You can trust Cyclingnews
Power meters on bikes typically find themselves in one of four locations. The rear hub, the crank arms, the crank spider, or the pedals. Which of those locations is best tends to change over time. Market forces and technology give a push and pull that moves things around.
A few years ago the rear hub was the more affordable option while pedals were the more convenient option. Then for a time, it looked like power meters were going to become a more integrated piece. Shimano and SRAM started building the power meter into their cranks and the market seemed to be heading in that direction. Stages burst onto the market with a great price on a crank arm solution and options started to open up again. Through it all though, the pedals have always been the most complex as well as the most flexible solution.
Garmin has been there with pedal options for years but they are back in a big way with the Rally series. In some ways, it's an evolution that goes back as far as the original Vector from 2013. In other ways, the Rally pedal-based power meter is a revolutionary product. But does this make them the best power meters available today?
Design
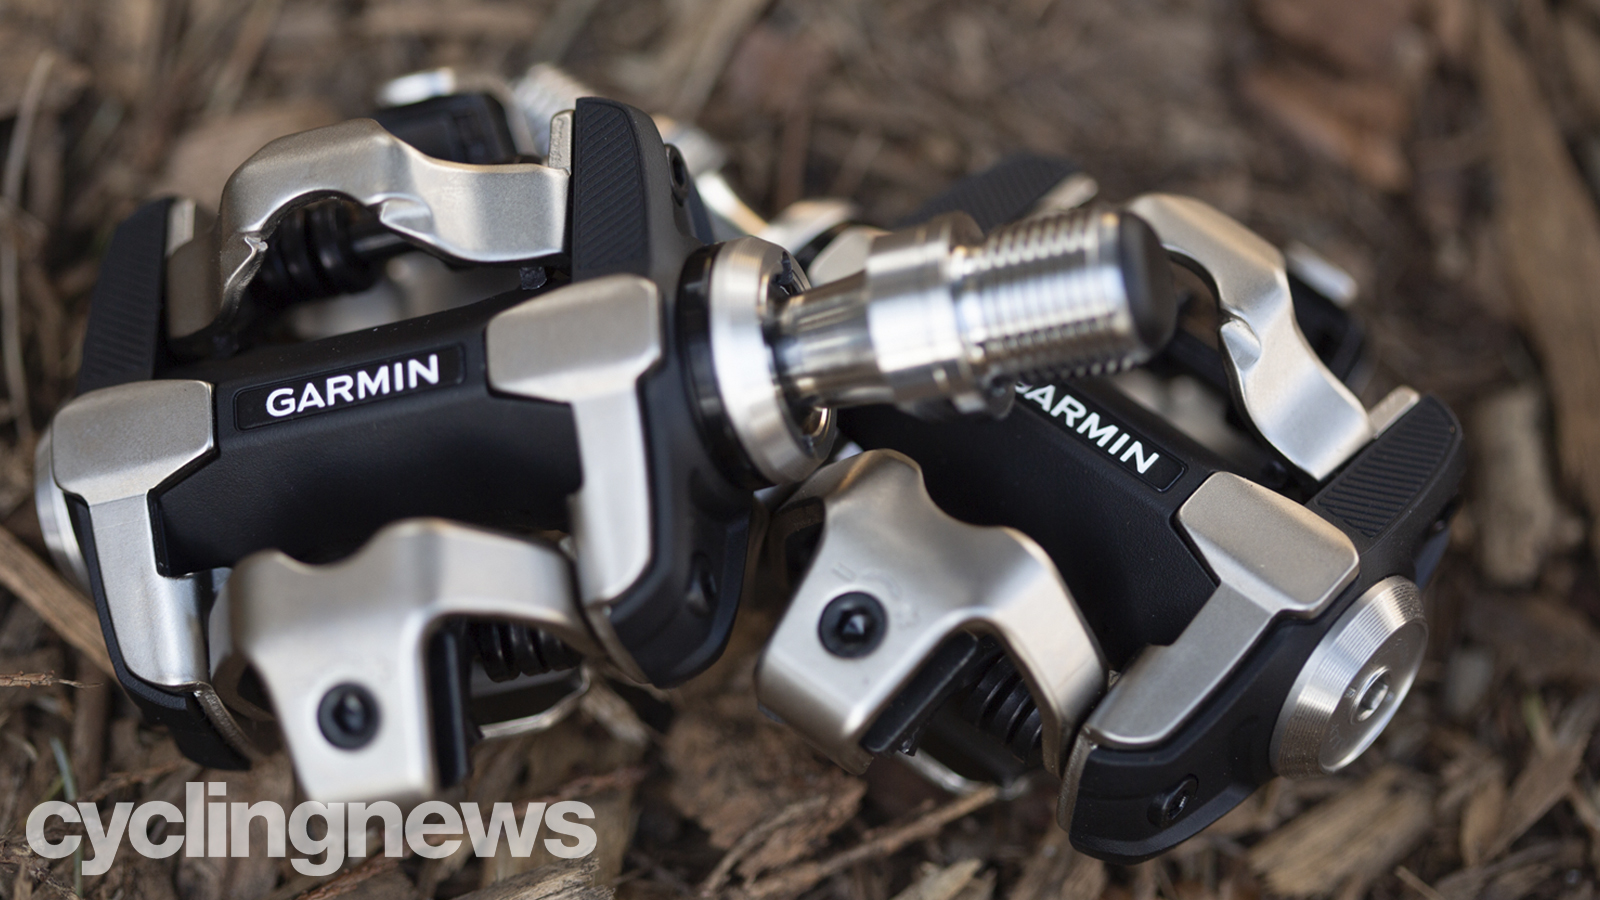
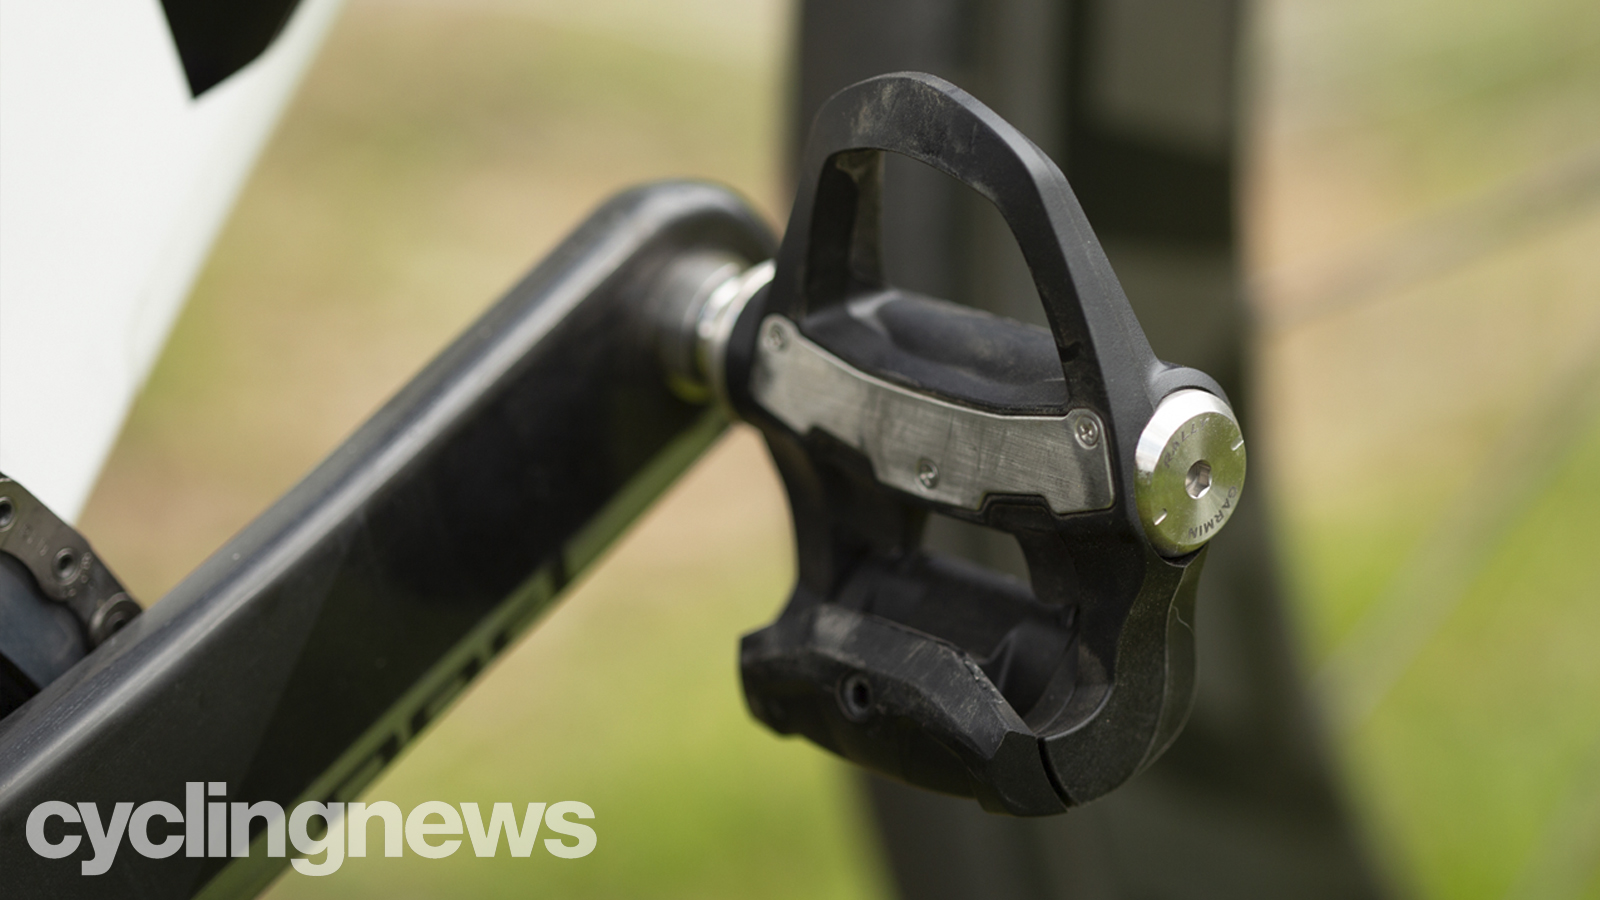
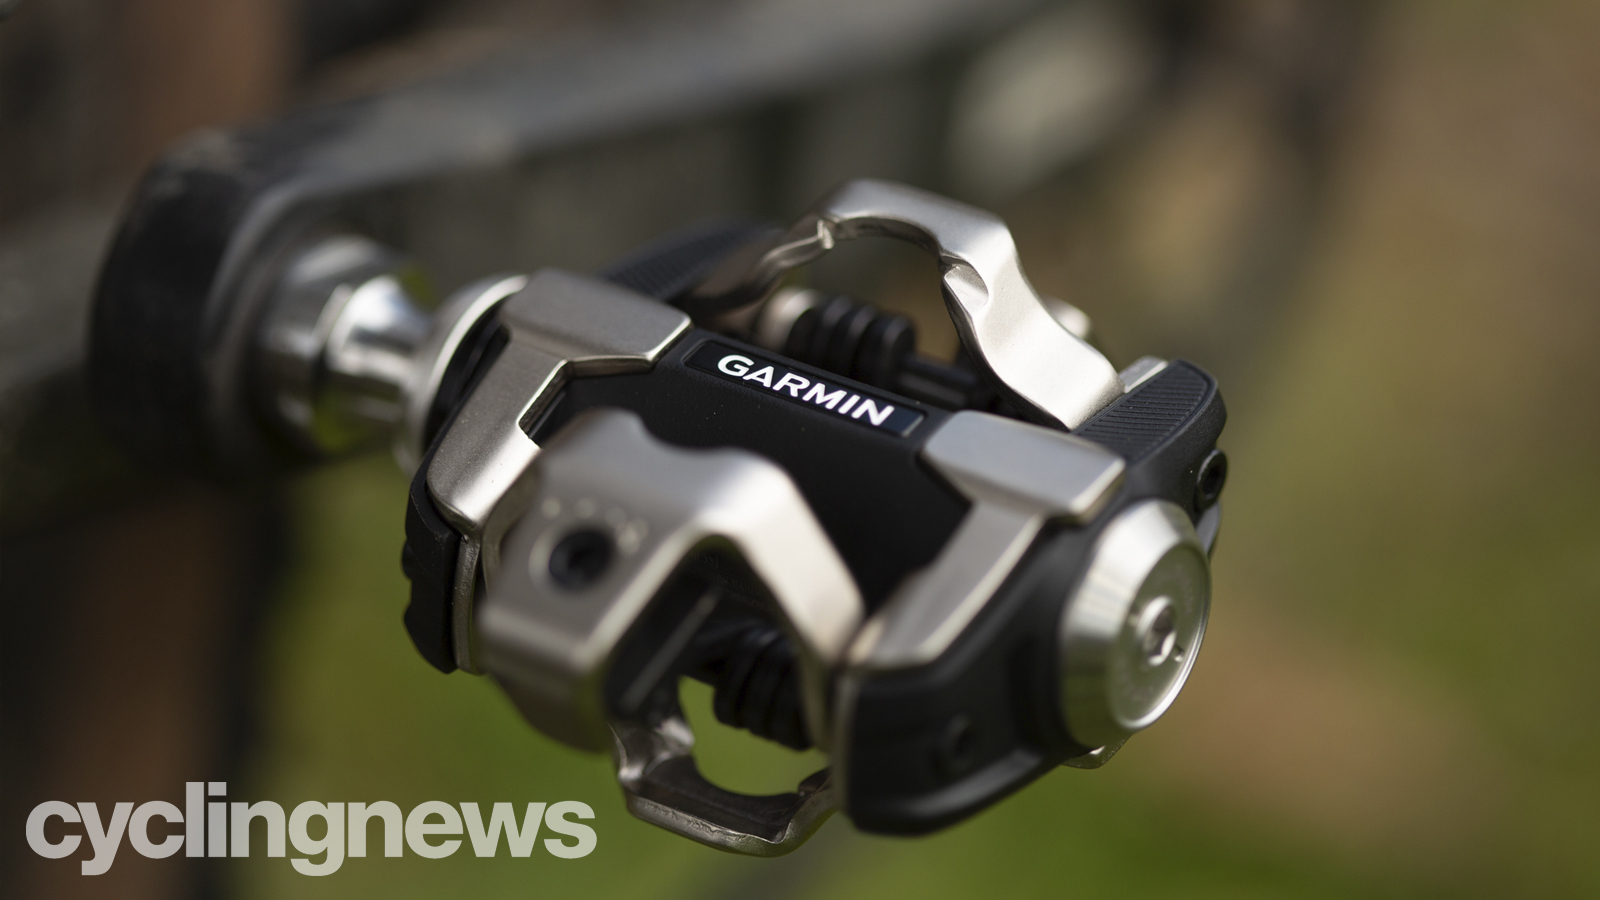
The Garmin Rally pedals are a system of three pedals bodies with either single or dual power measurement. The range's naming structure is made up of two letters, RK, RS, or XC, followed by the number 100 or 200.
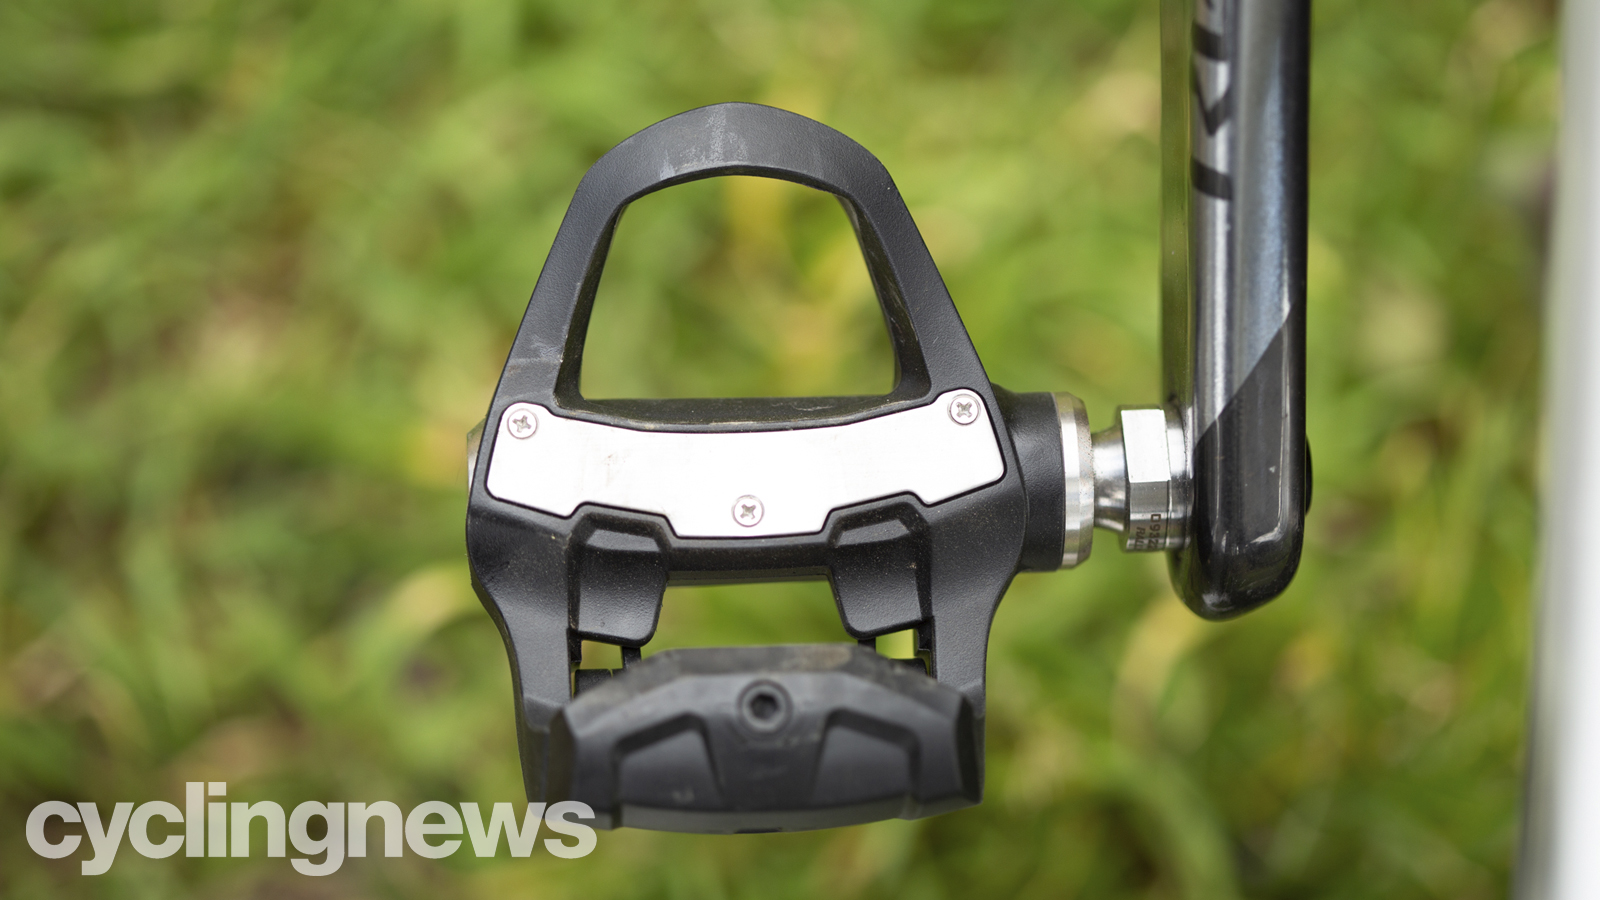
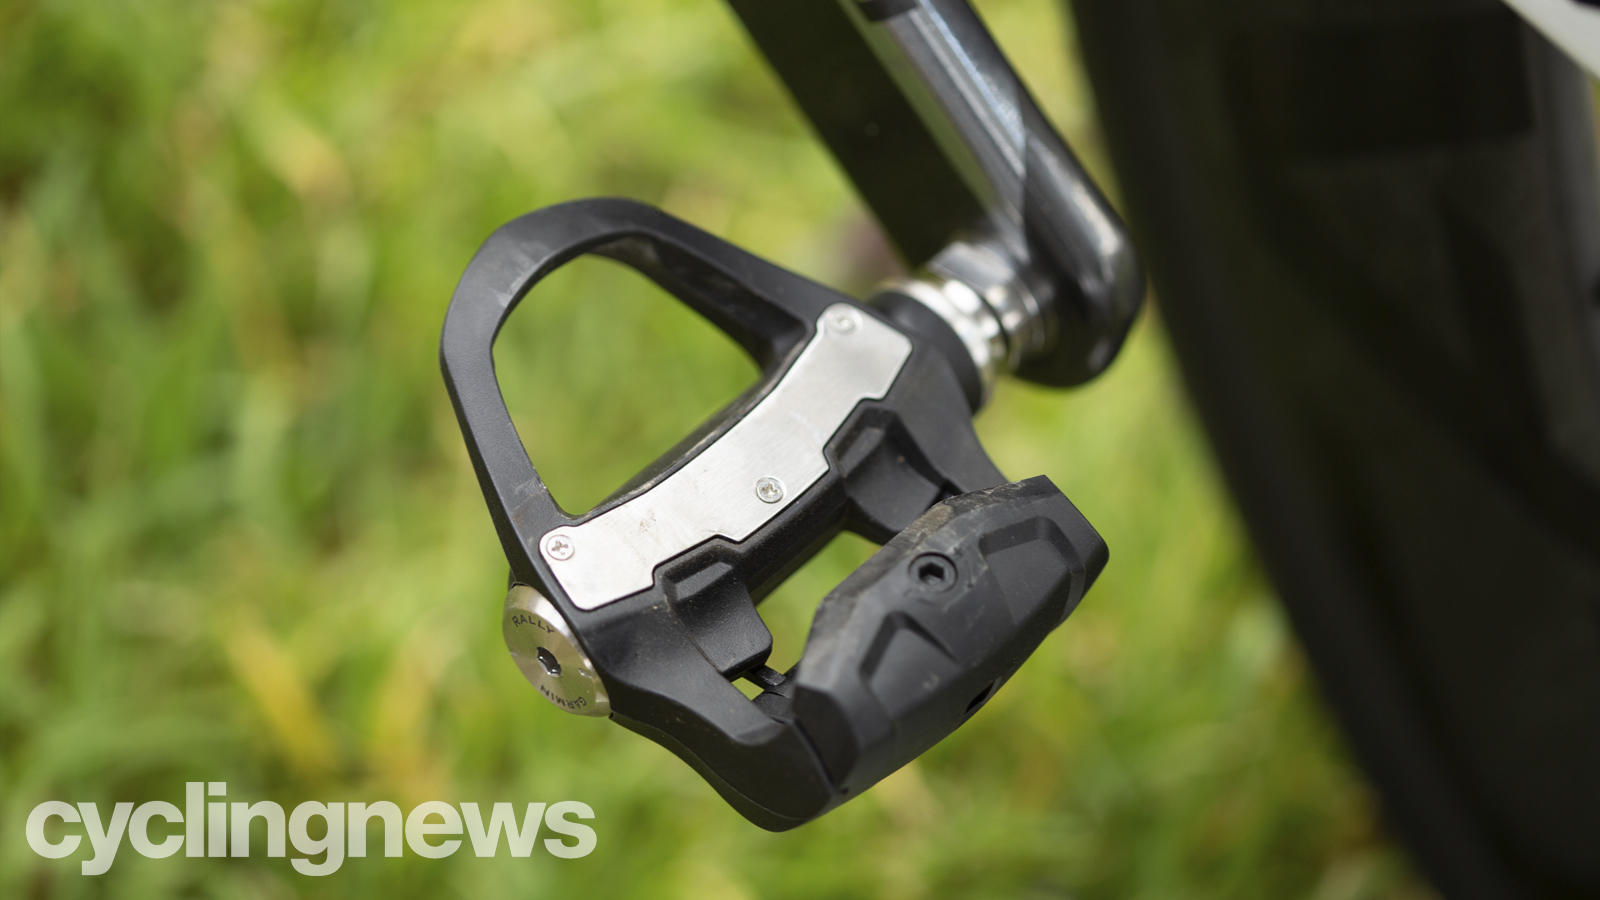
An RK box means you've got a road pedal with a Look Keo compatible cleat. An RS designation means a road pedal using an SPD-SL cleat. The last option is XC and that gets you a dual-sided, two-bolt, SPD-compatible pedal. Next to the letters, you will find either 100 or 200 meaning either single-sided power or double-sided power, respectively.
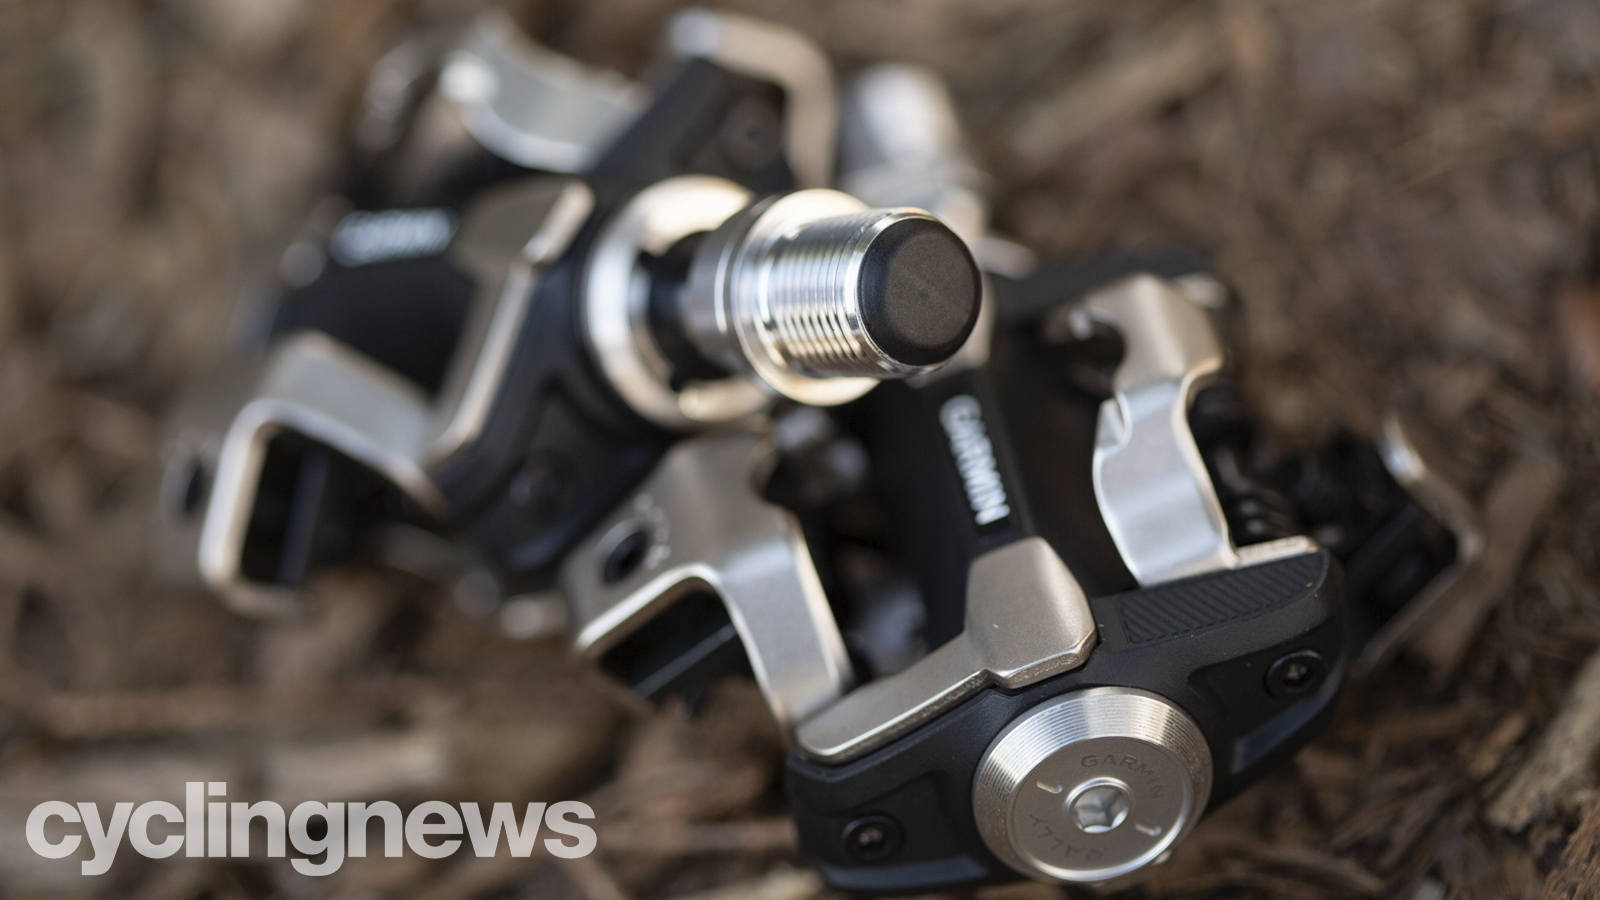
The biggest headline with the Rally pedals is probably the Rally XC. As gravel cycling has gained in popularity training with power in off-road applications has found a larger audience. In the past, that has taken pedal-based power meters out of the running but not anymore. Garmin has dropped an off-road-capable SPD power meter into the market and there's a focus on that feature. Look past the headlines though.
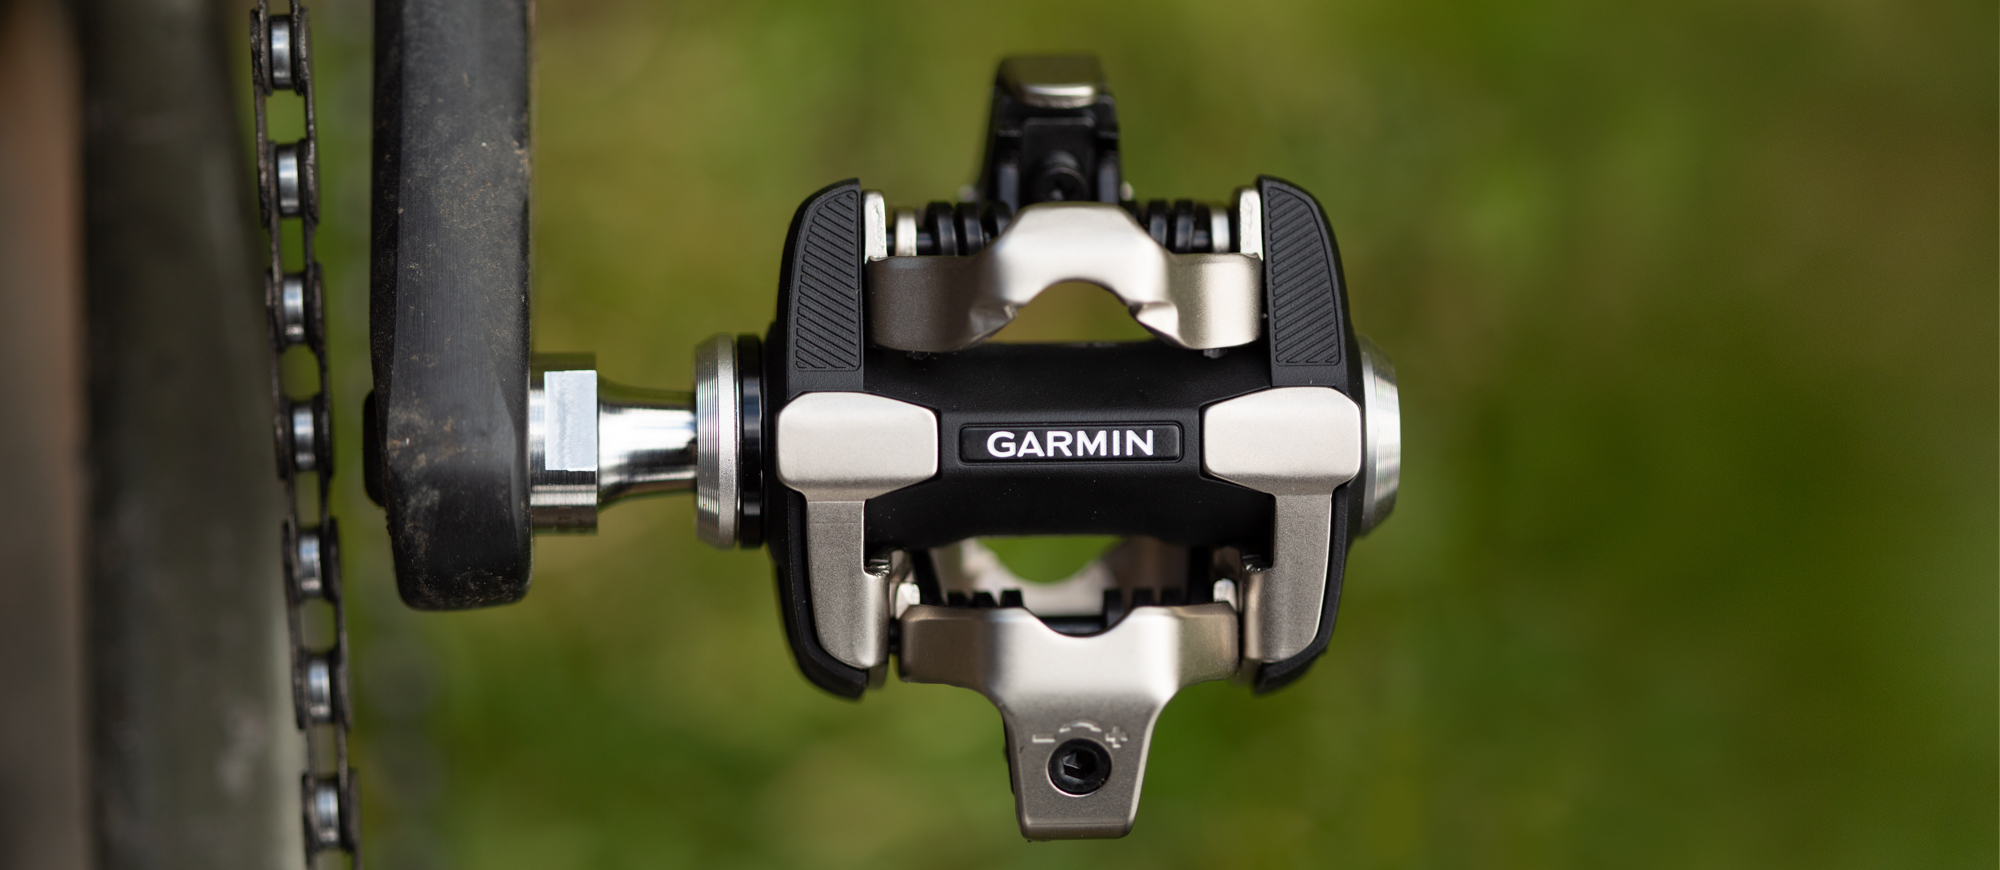
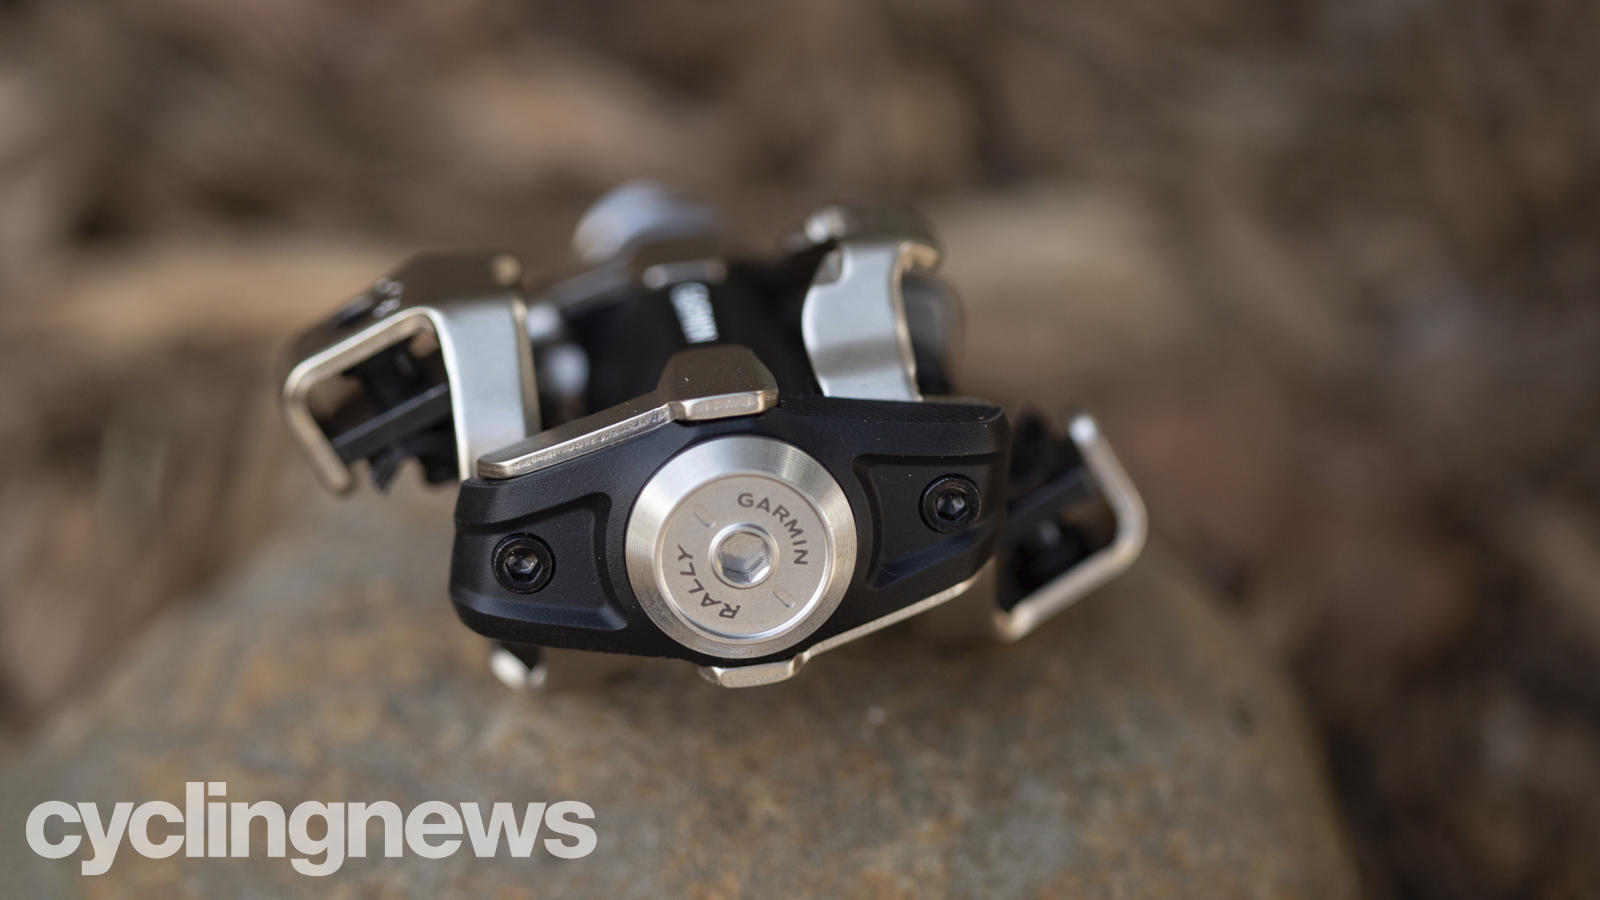
The Rally pedals aren't about a particular pedal body. The parts that make the Rally pedals work as a power meter live in the spindle. The pedal bodies are interchangeable with an upgrade kit. Whatever you start with is irrelevant other than as a place to start. With that in mind, look at the pedal bodies and you can see the aesthetic design follows the function and the bulk is in the spindle.
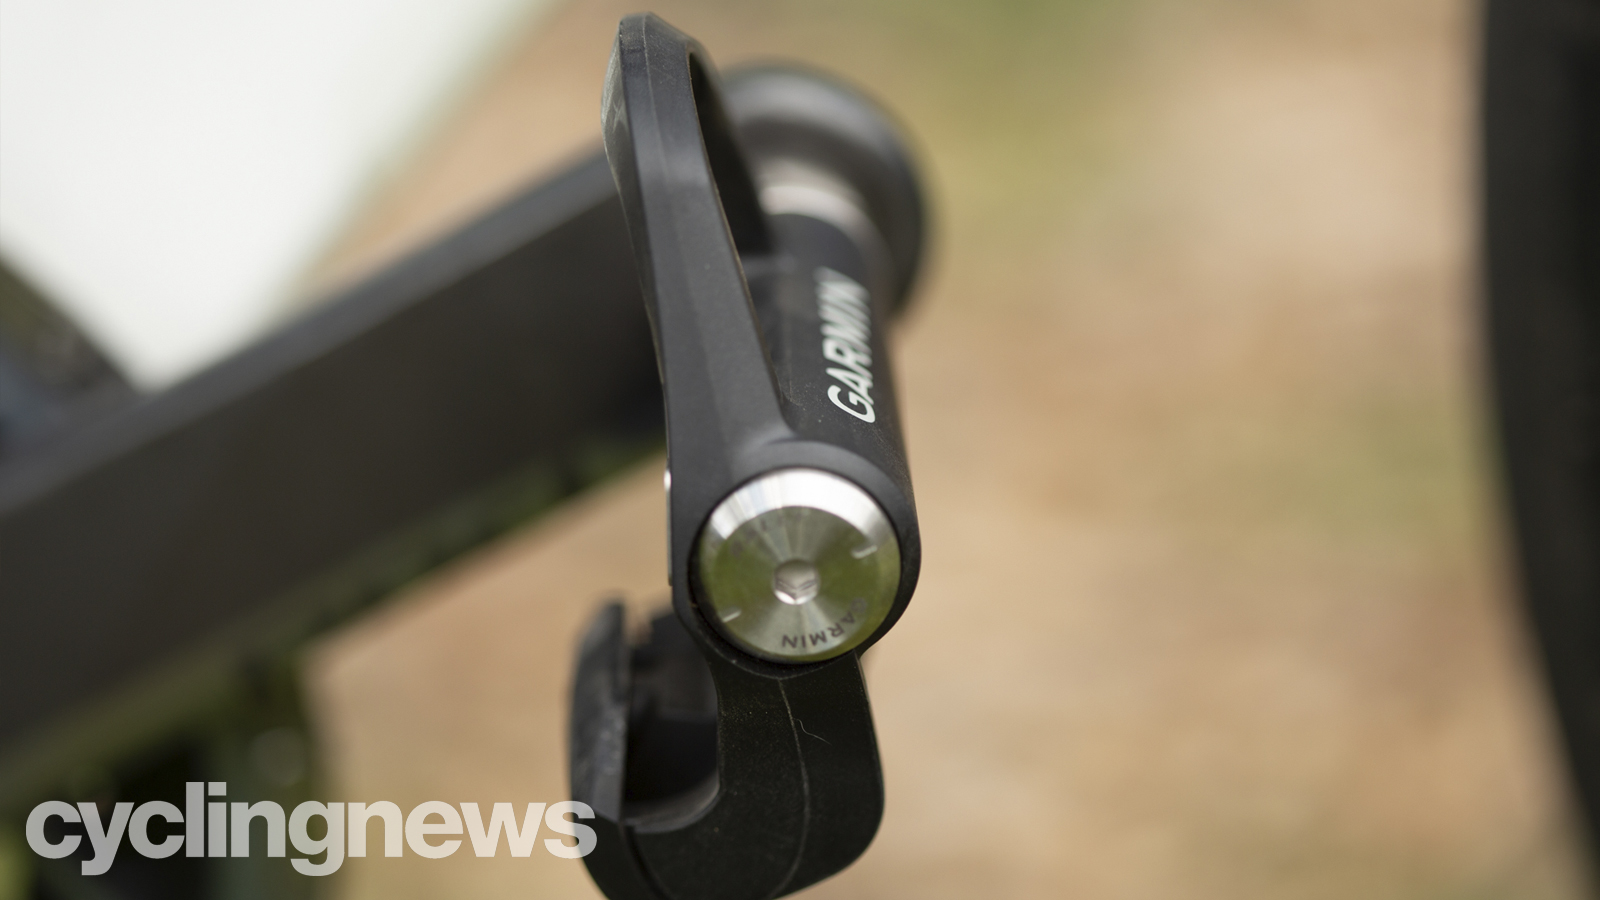
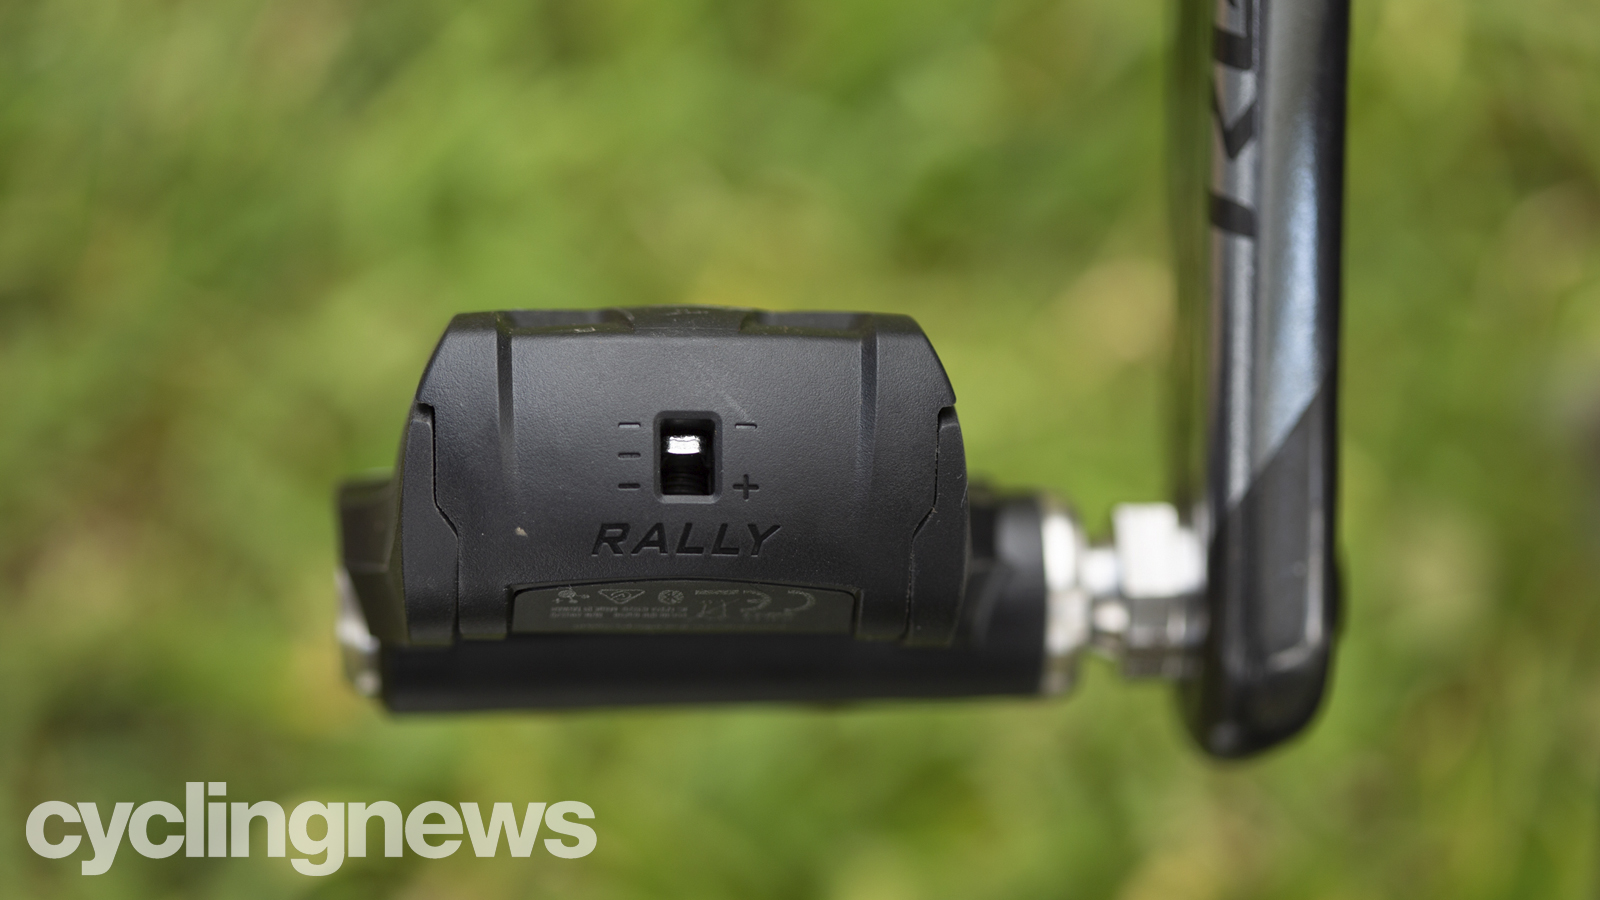
As the pedal leaves the crank, it's a gorgeous expanse of machined metal. The end of the spindle, which pokes through the crank arm, houses an informational light. The threads are long and the housing at the end is concave. If your frame is tight between the crank arms and chainstays or chain there are washers to move the spindle farther from the centre of the bike. Keep moving to the rest of the pedal body and it's a combination of aluminium and composite material. Anything metal has the same gorgeous machined look and the composite pieces are perfectly formed. Road, or off-road, these are nice looking pedals.
Set-up and calibration
Setup is almost as simple as installing any other pedals. The instructions include a single folded sheet of paper and eight steps. There is no hex wrench tightening as the location where you'd find it is where the electronics live. Instead grab a pedal wrench and thread them on. The recommended torque is 25lbft or 34Nm but there's no need for a torque wrench. You haven't needed a torque wrench for any Vector pedal since the original but it's a pervasive myth.
There's a generous thread length and the spindle will come through the crank arm a bit, so you'll need to put your chain on the large front chainring and the bottom of the rear cassette then check carefully for proper clearance. If things are looking a bit close, grab one of the included washers and start again.
To install the pedals from an electronic standpoint you will only need to pair them with your head unit. There is no need to add them to the Garmin Connect app. Once added to the head unit, do an initial calibration. You are now ready to ride. If your crank length is not 172.5 be sure to select the correct crank length before calibrating.
There are a couple of other considerations on the setup procedure. Depending on the head unit, you may have the choice to use Bluetooth or ANT+ to pair the Rally pedals. Bluetooth is a less mature option that is more likely to experience dropouts. If at all possible, choose ANT+ for pairing. Also, while you do not need to add the pedals to Garmin Connect, it's a good idea. Once added, you gain another location for settings as well as firmware notifications.
Riding experience
Just as I did with the setup, what I want to hammer home is that the experience is a non-event. The setup involves using a pedal wrench to attach them and adding them to your head unit as a sensor. The riding experience involves clipping in and riding like any other pedal while seeing your power and cadence reported. Everyone wants there to be more, and I will share details, but the mark of a good power pedal is that there is very little to report, and that's the case here.
The first time I went for a ride it was pouring rain and I connected them hastily at the last moment before riding. I spent a miserable day in the rain but the pedals were superb. Hard rain, and a later bike wash, had no effect on the pedals and clip-in is among the best road bike pedals I've used. Looking at them as a physical pedal the weighting is perfect and they are easy to get in and out of. In terms of electronics, if you haven't experienced Garmin Pedalling Dynamics before, you are missing out. The data available is impressive, to say the least.
The Garmin Rally pedals have a claimed power accuracy of +/- 1% and I experienced nothing to dissuade me from that. I don't try to ride with multiple power meters and compare power data down to the second. There are others doing that and the conclusion is that they work. I checked them against a second power meter but that’s enough. The question I look to answer is 'do they feel consistent and do they match my experience of perceived effort?' I've ridden with power for a lot of years and if things are off, I can tell. On the road, I used the Keo compatible RK200 and on a gravel bike, the SPD compatible XC200 pedals. Power was consistent and accurate no matter the temperature or terrain.
Verdict
There's a couple of narratives going on with the Rally pedals. You could view the Rally system as a collection of individual products. Viewed in that light, they are highly accurate and well-made pedals. They feature a user-replaceable battery with up to 120 hours of battery life, an IPX7 water resistance rating, and a max rider weight of 105kg. The stack height for the RK200/100 is 12.2mm and 13.5mm for the XC200/100. Above all, Garmin has done as much as possible to test these before release.
Over a hundred riders have completed thousands of rides with a combined distance of over 100,000 miles. Those rides covered every possible temperature range and weather condition. Because pedal strikes are an issue riding offroad, there has been extra brutal pedal strike testing as well. Problems might pop up but it won't be because there wasn't adequate testing.
All that said, that's not the most interesting thing about the Rally pedals. The Rally is a system designed to last through whatever comes in the future. Garmin sees a power meter as an investment that transcends a particular bike and they've designed Rally with that in mind. Start with a single-sided Rally power meter in whatever cleat flavour you want, and later, if you get more serious and want better metrics, you can upgrade to dual power. If you decide you want to switch between Look and SPD-SL cleats for some reason, you can buy an upgrade kit and make the change.
Your Rally pedals will even follow you from off-road to on-road, and back. If you start as a road cyclist but suddenly get tired of dealing with cars don't worry. A new pedal body kit allows you to move the Rally power meter not only to a different road cleat system but also to an off-road SPD system.
A forever bike might be a hopeless pipedream but Garmin is offering a forever power meter. It's also worth mentioning, the Garmin products are part of an ecosystem. Once you start building the system it's easy to get hooked on seeing your whole life quantified. The Rally pedals, and Cycling Dynamics, are yet another part of that system.
Tech Specs: Garmin Rally Pedal system
- Battery life: Up to 120 hours
- Battery type: LR44/SR44 (x4) or CR1/3N (x2)
- Accuracy: +/- 1%
Rally RS200
- RRP: $1099.99
- Weight: 320G (combined)
- Measurement: Dual-sided
- Cleat system: Shimano SPD-SL
Rally RK200
- RRP: $1099.99
- Weight: 326G (combined)
- Measurement: Dual-sided
- Cleat system: Look Keo
Rally XC200
- RRP: $1199.99
- Weight: 444G (combined)
- Measurement: Dual-sided
- Cleat system: Shimano SPD
Rally RS100
- RRP: $649.99
- Weight: 328G (combined)
- Measurement: single-sided
- Cleat system: Shimano SPD-SL
Rally RK100
- RRP: $649.99
- Weight: 334G (combined)
- Measurement: Dual-sided
- Cleat system: Look Keo
Rally XC100
- RRP: $699.99
- Weight: 451G (combined)
- Measurement: Dual-sided
- Cleat system: Shimano SPD
Upgrade kits
- Rally RS/RK Upgrade Pedal: $549.99
- Rally XC Upgrade Pedal: $599.99
Conversion kits
- Rally RS/RK Pedal body conversion kit: $199.99
- Rally XC Pedal body conversion kit: $249.99
Looking to track your cycling progress more accurately? Our Garmin promo codes can help you save on tech to guide your progress.
Josh hails from the Pacific Northwest of the United States but would prefer riding through the desert than the rain. He will happily talk for hours about the minutiae of cycling tech but also has an understanding that most people just want things to work. He is a road cyclist at heart and doesn't care much if those roads are paved, dirt, or digital. Although he rarely races, if you ask him to ride from sunrise to sunset the answer will be yes. Height: 5'9" Weight: 140 lb. Rides: Salsa Warbird, Cannondale CAAD9, Enve Melee, Look 795 Blade RS, Priority Continuum Onyx
