
When I first got into cycling, I didn’t think too carefully about bike lights. My basic thought on the subject was that the brighter the light the better, and the best bike light was the one that could withstand a British winter whilst being reasonably kind to my wallet. And really, for many years, that was as far as it went with me and bike lights.
Part of the problem, if I am honest, is that the world of cycling illumination is complex to navigate. Between the dizzying marketing speak, the physics crossovers and the do-it-all app connection, it’s not always easy to cut through the noise to figure out exactly what will suit you and your style of riding.
I’ve recently been testing a number of different bike lights, some extremely premium and some aimed at the best budget bike lights market segment, and have waded into the murky world of lumens, lux, burn time, and beam shape. I’ve realised that over the years I've curated a pretty specific idea of what a good quality bike light is - and spoiler: it’s a lot more than just ‘the brightest on the market’.
Article continues belowSo I've put together a jargon buster that might just help with your next bike light purchase; demystifying all the terminology you found on the side of a bike light box or in the depths of a technical specification. If you’re feverishly googling ‘what is a lumen?’, then read on dear bemused cyclist: I have the answer.
ANSI FL-1 Standard
This is a standard protocol that some bike light manufacturers voluntarily adhere to in order to showcase the efficacy and reliability of their products without relying on ambiguous marketing language.
The protocol outlines standard testing methodologies of things like lumens, runtime, beam distance, and impact and water resistance, meaning that buyers can confidently compare specifications across brands to identify the best bike lights for them. Brands such as Cateye and Niterider have been known to use the ANSI FL-1 Standard.
ANT+®
ANT+ is a wireless protocol (a bit like Bluetooth) designed and developed by Dynastream but widely adopted into lots of bike lights, sensors and monitors. It allows multiple connections all at once, which means you can join up multiple lights and radars to create a bit of a system (rather like Garmin does with the Varia set ups), controllable from your phone or bike computer.
It's also the same wireless protocol that many power meters and smart trainers also use, so you may have come across it already in other aspects of bike tech.
Battery Indicator

Very simply, a battery indicator is (usually) a small LED light on the side or top of the device that can provide you with an at-a-glance battery level. A small, but infinitely useful addition to a bike light.
Beam pattern


The more riding you do in the dark, the more you’ll come to appreciate and identify a preferred beam pattern. Beam pattern is what makes your lumens useful to you (and in Germany, compliant), describing the shape and spread of the light beam, so is a crucial part of a light design. You’ll see beams described in lots of different ways, but the most common are:
Flood beam: A broad, wide spread of light that literally ‘floods’ the road in front. Great for highlighting peripheral areas on the road but not so good for distance. More useful than a spot beam when riding off-road.
Cut-off beam: Commonly found on StVZO compliant lights (German road legal), cut-offs are dipped a bit like car headlights to prevent dazzling oncoming road users.
Spot beam: A narrower channel of light that allows things in the distance to be illuminated brightly. Great for dark unlit roads.
Candela (c/d)

It’s unlikely you’ll see candela on the side of a bike box or in a shiny marketing campaign, as it is usually relegated to the depths of a technical spec. As lumen and lux’s nerdier cousin, candela is the measure of how intense the beam of light is in a specific direction and needs a whole load of maths just to make it make sense.
It’s not easily explained without knowing a bunch of jargon in itself (1 lumen = 1 steradian or ‘unit of a solid angle') and so unless you’re designing lights for regulatory purposes, getting too deep into candela isn’t going to help you pick a great light. Just think of it as ‘how strong the beam is’, and then sort of forget about it.
Chip on Board (COB)

COB is a type of LED technology more commonly found in rear or commuter-style lights. Lots of tiny little LED chips are packed tightly on a ‘board’ and then covered with a layer the light can diffuse through. You’ll recognise COB from the smooth, even (and a bit eerie) glow emitted from the light.
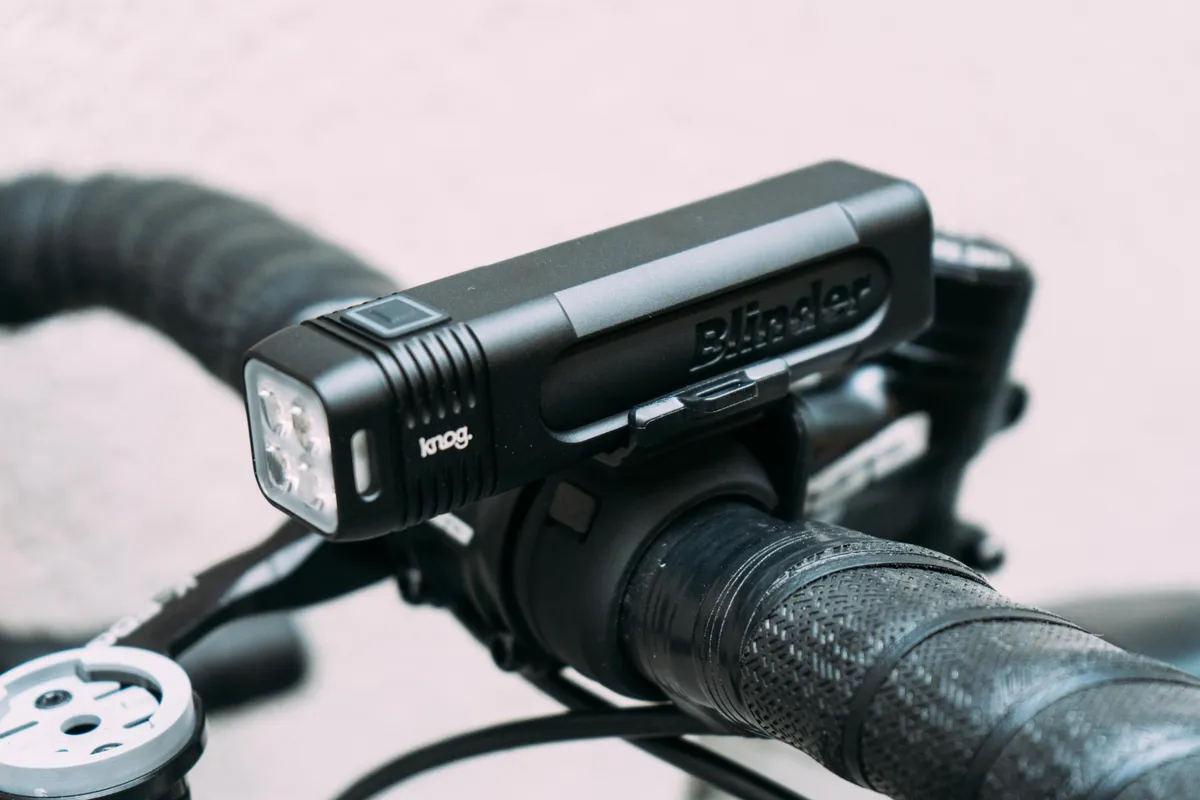
They’re often used because they are slightly more efficient from a battery perspective, and are often smaller and lighter, though don’t necessarily reach high lumen output. Brands like Knog, Moon, and Cateye sometimes use COB in their products. See the Knog Blinder Rear for a good example.
Daytime visibility
A bit of marketing speak for essentially a ‘flash’ mode, daytime visibility utilises higher lumen output to keep you super visible during broad daylight. This is a particularly useful mode for commuters or typically urban riders who want to keep drivers alert to their presence even in full sun.
Dynamo-powered lights

Always helpful for forgetful chargers, dynamo powered lights run off a small generator that attaches to your wheel or built into your hub. The dynamo draws energy from your forward motion to either power or recharge a bike light, and so can be incredibly useful for long distance cycling or on bikepacking trips. If you slow right down they will dim, though most have a small battery or capacitor to hold residual charge and negate this to some degree
Fast charging
Some bike lights support fast charging, which does exactly what it says on the tin and charges your lights faster than a normal charge. In most bike lights, fast charging basically allows more current (amps) to flow, delivering the same voltage (usually 5V in USB chargers) in double the amount of time.
Imagine it a bit like a hose filling up a bucket. The volts is the water pressure, and the amps is the flow. The more you open up the flow, the more water can be delivered. Fast charging is great for forgetful people like me, who are due to leave the house in half an hour and have completely dead bike lights (again). A word of caution - fast charging can mean reduced battery lifespan in the long run.
Front light / Head light
This is the light mounted on the front of your bike, allowing you to be visible and see where you are going. Typically a white or yellow light, the front light varies massively in terms of purpose – Do you just need to be seen, or do you need to illuminate your way on dark trails and roads? – and also lumens.
A typical commuting light in the city might, for instance, only offer 200 - 400 lumens, while high end lights for MTB might regularly go upwards of 2000 lumens - or even to the monumental 12000 lumens in the Magicshine Monteer.
Regulations for the front light differ by country; Germany, for instance, has the strict StVZO, which has requirements for a cut-off beam and anti-dazzle.
Heatsink

As LEDs are so efficient, you’re unlikely to see a heat sink - or the way a bike light ‘dumps’ its heat - in smaller, commuter lights. In higher powered, high end lights, however, you might see small grills or fins usually made of metal which add a bit of bulk or weight to the overall design.
They're there for good reason though, conducting heat away from the LEDs and allowing the airflow from your forward motion to cool the system down.
Ingress protection (Waterproof rating)

Crucial to knowing how long your bike light might last and in what conditions it has the potential to survive, IP ratings describe the ‘Ingress Protection’. The ratings are as follows:
IPX-0 No protection
IPX-1 Protected against condensation or water falling vertically
IPX-2 Protected against spraying water when tilted up to 15 degrees vertically
IPX-3 Protected against spraying water when tilted up to 60 degrees vertically
IPX-4 Protected against splashing water from any angle
IPX-5 Protected against low-pressure water stream from any angle
IPX-6 Protected against high-pressure water stream from any angle
IPX-7 Protected against water immersion for 30 minutes to a depth of 1 meter
IPX-8 Protected against continual water submersion in under water conditions
Think carefully about what rating you might need - lights can take a hammering from road spray at all angles, and in the depths of winter (or even summer, if I’m honest) a downpour can last hours. IPX-6 is probably the baseline you’ll need for riding, though for some city commuting IPX-4 might just get you through.
Also confusingly you may a number like IPX67. In this instance the first digit (the 6) denotes that the product is dust tight, and the 7 indicates that it has a '7' waterproof rating.
LED
LED stands for ‘light emitting diode’ and are common in almost every bike light on the market. Unlike the traditional incandescent or halogen bulbs that the MTB riders of the bygone years relied on, LEDs can reach their full brightness almost immediately, emit very little heat relative to their output lumens, and provide more light per watt so are much more energy efficient.
Lens

The lens on a bike light is crucial for creating the shape and angle of the light beam. Different manufacturers will utilise varying techniques in the lens to get a specific pattern: for instance, while a clear lens lets the light pass through reasonably easily, textures or colours can change the width or ‘throw’ of the beam. Lenses are generally made from either a polycarbonate or acrylic; the former is a bit more scratch and impact resistant, while acrylic keeps the light a bit cheaper.
Light casing
Most budget bike lights are encased in a plastic housing, while higher powered or higher end models often use an aluminum alloy which is a more durable material. While plastic is ok, it does have the tendency to trap heat, while a metal alloy can dissipate it more evenly which might preserve the life span of the light a bit better. Some brands utilise a composite or even a nylon blend to give the light strength without making it too heavy.
Lumen (lm)
Lumen is the measure of the amount of visible light emitted from the source in all directions; it’s the most common way you’ll hear to describe the brightness. Lumens are a little bit more complex than that in reality - they actually measure ‘luminous flux’ which is a weighted measure of a human eye’s sensitivity to different wavelengths - but we don’t really need to know that.
At a very basic level, the higher the lumens, the brighter the light will be - although it doesn’t necessarily guarantee it is a useful light to the rider. That’s when things like beam patterns and housing design might come in.
Very generally, you’d expect that 600 lumens are sufficient for city riding, and maybe 1200 lumens for trails, though there is a lot of nuance and variation in regional legal compliance in that rule of thumb.
Lux
Lux is the measure of how illuminated a surface is at a specified distance. While Lumens describe light emitted from the source, Lux quantifies how bright the surrounding area appears - pretty important for moving at speed in the dark. You’ll often see it expressed as (for instance) ‘95 lux at 10 meters’.
1 lux is equal to 1 lumen per square meter, so in this example, a pavement or patch of tarmac 10 meters ahead of you will receive 95 lumens of light. Lux is less commonly discussed anywhere outside of the European Union because of Germany’s StVZO Road Legal Standard requirements, but it can be a useful measure to gauge the performance of a light if it is included on the spec.
Again, very, very generally, 20 - 60 lux at 10 meters might be enough for city riding, while for trails you might need upwards of 150 at 10 meters to spot roots and rocks at high speeds.
Milliamp hours (mAh)
Milliamp hours is the unit of battery capacity, and is a bit like talking about the size of a tank of fuel - you’re interested in this to see how much capacity a battery might have, how much energy a battery can store that a bike light can draw power from. Generally, the bigger the number, the longer you might be able to have your lights on for.
However, mAh alone isn’t enough of a determiner to know whether a bike light is going to be good quality, or how long it will actually run for. You’ll need to check the battery runtime to see what the practical application of those milliamp hours might be.
Modes

Most bike lights nowadays will at least offer some basic settings, or modes, to allow you to alter the lumen output or flash. This helps preserve the battery, allows you to tailor your experience as you’re cycling through lit and unlit roads, and keeps you in control of how visible you are. The most common modes on bike lights are:
Low / Medium / High: These are generally steady beams at various brightness settings. Low is usually for longer rides, or city based commuting, while high is for short periods of cycling where you need both see and be seen. Medium tends to balance the two, preserving battery life, but ensuring you have a practical level of lighting.
Strobe / Flash / Eco / Pulse: Patterns of flashing designed to make you visible in traffic. Eco flash uses less power and preserves battery.
Day flash / Night flash: Day flash is designed for maximum visibility and is usually on the brightest setting the light can handle. Night flash is usually dimmer to prevent dazzling.
Peloton or Group: A lower brightness that prevents dazzling of other cyclists behind you, but keeps you visible.
Depending on the bike light, you may cycle through these by combinations of force-pressing or double tapping buttons on the light itself, or you may need to set up the lighting mode on a phone app.
Mount

The mount is how the light is attached to your bike and your choice in mount has big implications for the positioning of the light beam and how practical your setup is.
Handlebar mount: Most bike lights utilise a handlebar mount, which attaches via a rubber strap or clamp, directly to the bars. It’s more practical (if you have the space) as you can adjust lighting settings or beam angle as you’re riding.
Quick release mount: Very common on bike lights, the quick release allows you to quickly release a light from the mount, leaving the mount in place. Very useful if you need to pop into a shop or cafe and don’t want to leave your lights on show.
Out-front mounts: Allow the light to be mounted beyond, or ‘out front’ of the handlebars. These utilise the underside of a bike computer mount, keeping your cockpit a bit cleaner. The most typical is a Garmin-style mount, but make sure you double check the attachment type in case it’s a proprietary attachment.
Helmet mount: As the name suggests, this mounts the light to your helmet to provide a more direct beam of light to where you’re looking. They can take multiple forms but often utilise a GoPro style attachment nowadays.
Seatstay or seatpost: Usually for rear lights, the attachment is fixed to the seat post and secured using strong, flexible rubber bands.
Rear light / Tail light

This is the light mounted to the rear of the bike, usually a red light on the seatpost or seatstay, designed to make you visible to other road users. Most have a variety of modes, including flash or pulse, to tailor your ride to the conditions or improve battery efficiency. Some rear lights have ANT+ to turn it into an indicator (blinker) or smart functionality to allow it to act as a brake light, to help traffic understand your movements on the road.
Rechargeable (USB-C, Micro-USB)

Most modern bike lights will utilise some form of rechargeable battery, and are normally charged with a USB cable. While micro-USB was once the standard, USB-C is steadily flooding the market (hooray for standardisation and compatibility with phones and laptops, and so long to the dreaded kitchen drawer filled with seven million proprietary cables!).
USB-C has a reversible cable connector, meaning no more of that ‘oh no, wrong way around’ dance that we used to have to do, and generally allows for quicker and more reliable charging.
StVZO - German Road Legal Beam
StVZO stands for Straßenverkehrs-Zulassungs-Ordnung (or Road Traffic Licensing Regulations, in case your German is a little rusty), and is a set of rules and regulations that govern (perhaps unsurprisingly) traffic rules across Germany.
As bikes also use the roads, the lights fall under their jurisdiction. You’re likely to see ‘StVZO compliant’ on bike light manufacturers that produce lights for European consumption, and it essentially means that the light:
Must be a steady light (no flashing, pulsing, blinking).
Have a maximum output of 205 lumens.
A cut off beam (where the top portion of the beam is ‘cut off’ to prevent dazzling of road users.
Must be connected to a generator, such as a dynamo (front and rear), unless you're on a racing bicycle weighing less than 11kg.
Rear lights also must be between 20 and 65cm from the road surface to comply.
Visibility / Viewing angle
This is the angle of visibility a light - through both the casing and the lens design - is able to achieve. It’s usually measured in degrees, and a wider visibility angle means that drivers or other road users meeting you side on (through a junction for instance) are able to spot you far better.
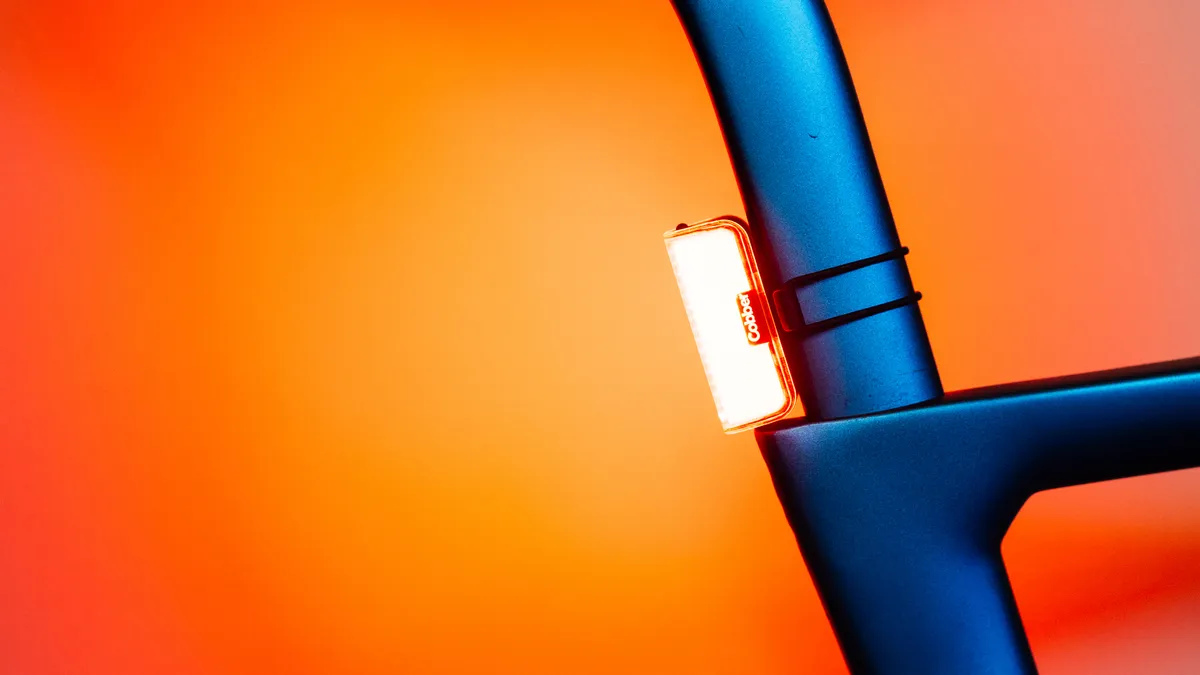
Some brands such as Knog manage to achieve almost 330 degrees through its Cobber light, utilising Chip on Board (or COB - see a separate entry for this!) and nifty casing cut outs to broaden the light beam.
Watts
As I am sure you will recall from all of your intensive workout sessions, watts are the measure of power - they tell you the rate at which power is being consumed or produced by something. When it comes to bike lights, the important bit is the relationship between lumens and watts, or more precisely, lumens per watt.
While lumens will tell you how bright your light is, the watts will basically explain how efficient your light is going to be. If you have a high wattage with a high lumen, for instance, it’s likely that the battery will drain much quicker. You don’t often see wattage in the tech specs, but where you can find them, it’s a useful indicator for whether you’re getting a good deal or not.
You must confirm your public display name before commenting
Please logout and then login again, you will then be prompted to enter your display name.
