How to clean your bike
Quick post-ride cleaning tips to keep your bike running smoothly
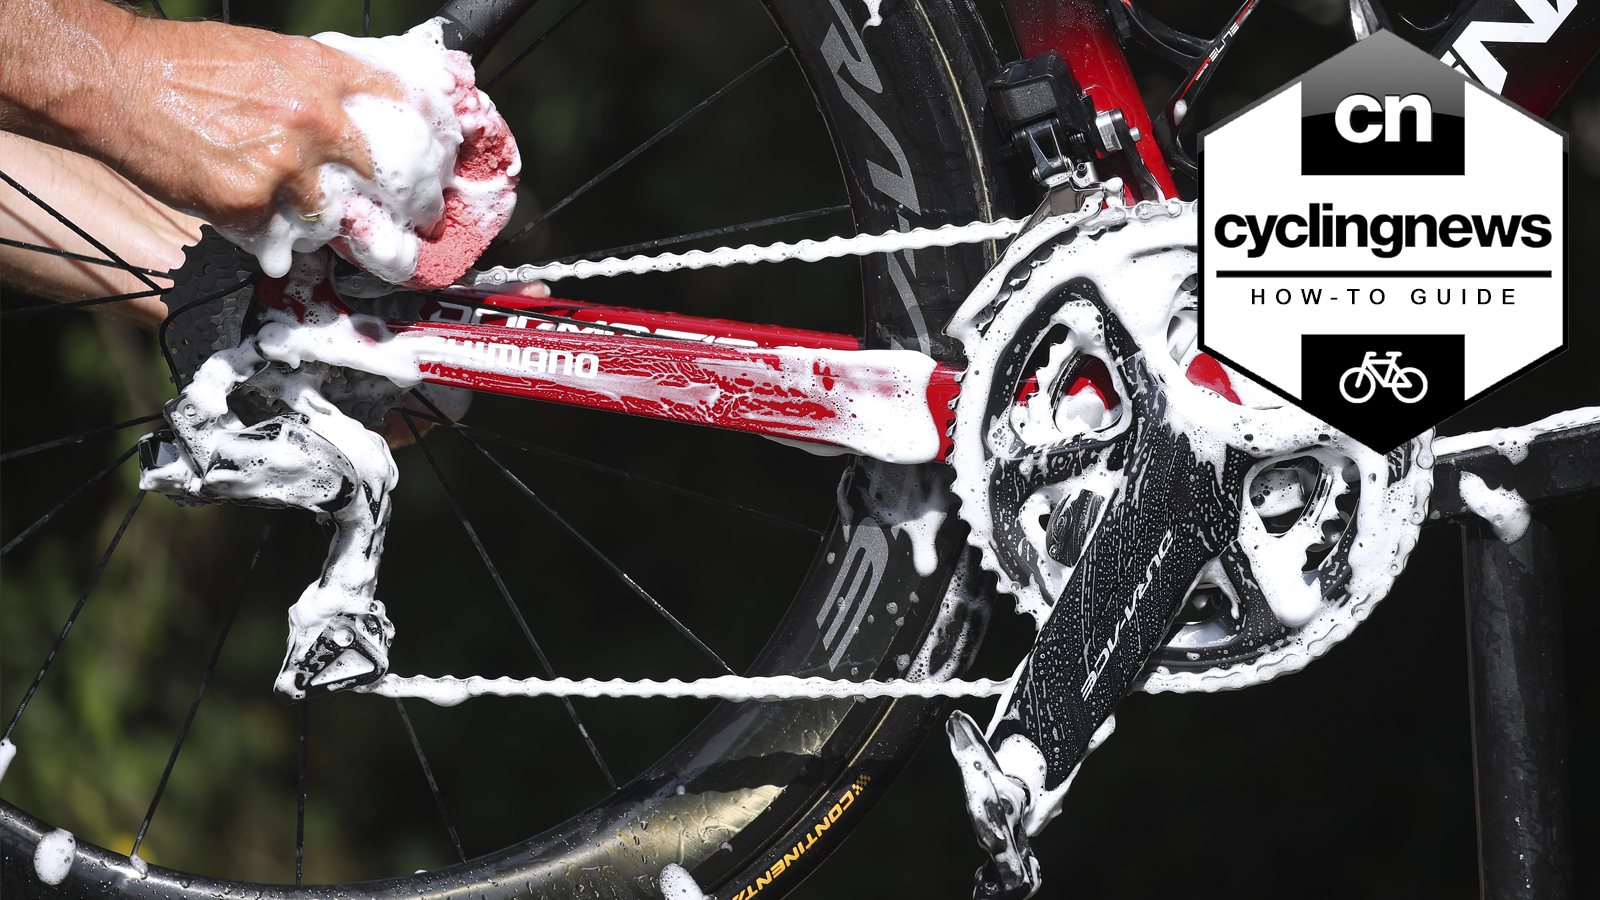
There's a saying: a clean bike is a fast bike, and as cliche as it sounds, there's a huge amount of truth in it.
The proper function of a bike depends on a number of moving parts being able to, well, move. Without movement, it's little more than an expensive garage ornament. Retaining this simple functionality relies on those components being clean and lubricated at regular intervals, and not simply left in the garage coated in the dry remnants of mud that once lived on the gravel road you rode through last weekend.
The most crucial area requiring attention is the drivetrain. A dirty drivetrain will be resistant to this movement and, at the very least, lead to reduced drivetrain efficiency - meaning greater effort is required to pedal the same speed. Beyond this, contaminants will often form a paste on your drivetrain components, which will accelerate the wear caused with every pedal revolution. Left unattended for an extended period, contamination from water ingress and salt will corrode your drivetrain. All of the above will ultimately lead to a less enjoyable cycling experience - bad - and expensive components needing replacing more often - double bad.
Also pay attention to brakes and braking surfaces, especially rim brakes where contaminated pivot joints can cause reduced braking performance. Always be careful not to contaminate brake pads, rims or rotors with any lubricating liquids such as GT85 or frame polish.
Thankfully, cleaning your bike doesn't have to take long; regular and often is the best practice. This can lead to a habitual post-ride wash down, will be easier than a two-hour deep cleaning session, and will keep you in tune with your bike's state of maintenance (pad wear, tyre condition, etc)
Dos and Don'ts
Do
- Wear gloves - this means you don't need to spend just as much time washing your hands afterwards
- Use a biodegradable or environmentally friendly degreaser. Your bike is important but plants enable you to breathe
- Learn to remove and refit your cassette - they're a lot easier to clean properly this way
- Start at the top and work down - gravity is your friend
- Dry your drivetrain when you finish - rust happens with clean water too
- Focus on what's important - clean your chain before you start polishing your top tube
- Set a timer - unless you've got all day, a time limit is a great way to help you focus on what's important and getting that done. If you have time left over, then sure, go mad with the polish
Don't
- Leave it until next time. This is a vicious cycle that your bike will not thank you for
- Turn your bike upside down, use a workstand instead - would you turn your car upside down?
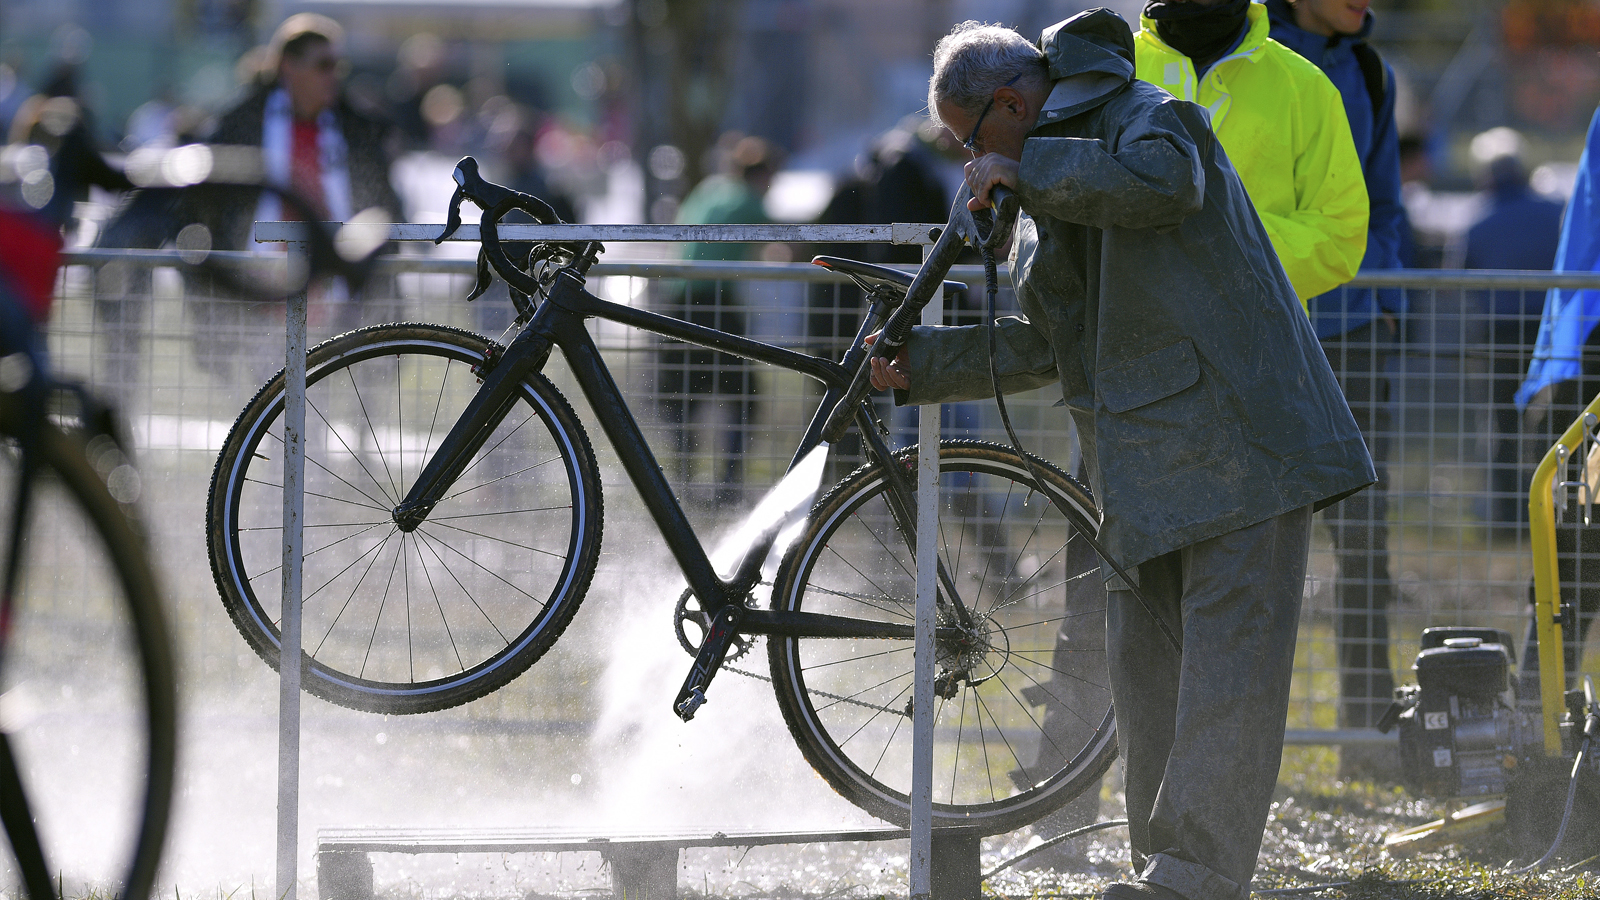
- Point a pressure washer directly at bearings - they are greased for a reason… movement, remember?
What you'll need
Assuming we're going for a basic post-ride clean and not an ultrasonic deep clean, you don't need a lot of tools or dedicated bike-cleaning products. We tend to get by with a bucket of warm soapy water, a spray-on degreaser, a stiff brush, a sponge, and a few dishcloths that you can get for cheap at the supermarket.
Optional:
Chain cleaner
The latest race content, interviews, features, reviews and expert buying guides, direct to your inbox!
A chain cleaner will clean a chain quickly and efficiently with minimal effort. A clean rag can be used (sacrificed) to achieve a similar goal, but a chain cleaner will get between the links more effectively.
Workstand
A workstand is a great way to hold your bike aloft and in place - our guide to the best bike repair stands will help you choose.
Step by step
Step 1: Get it wet
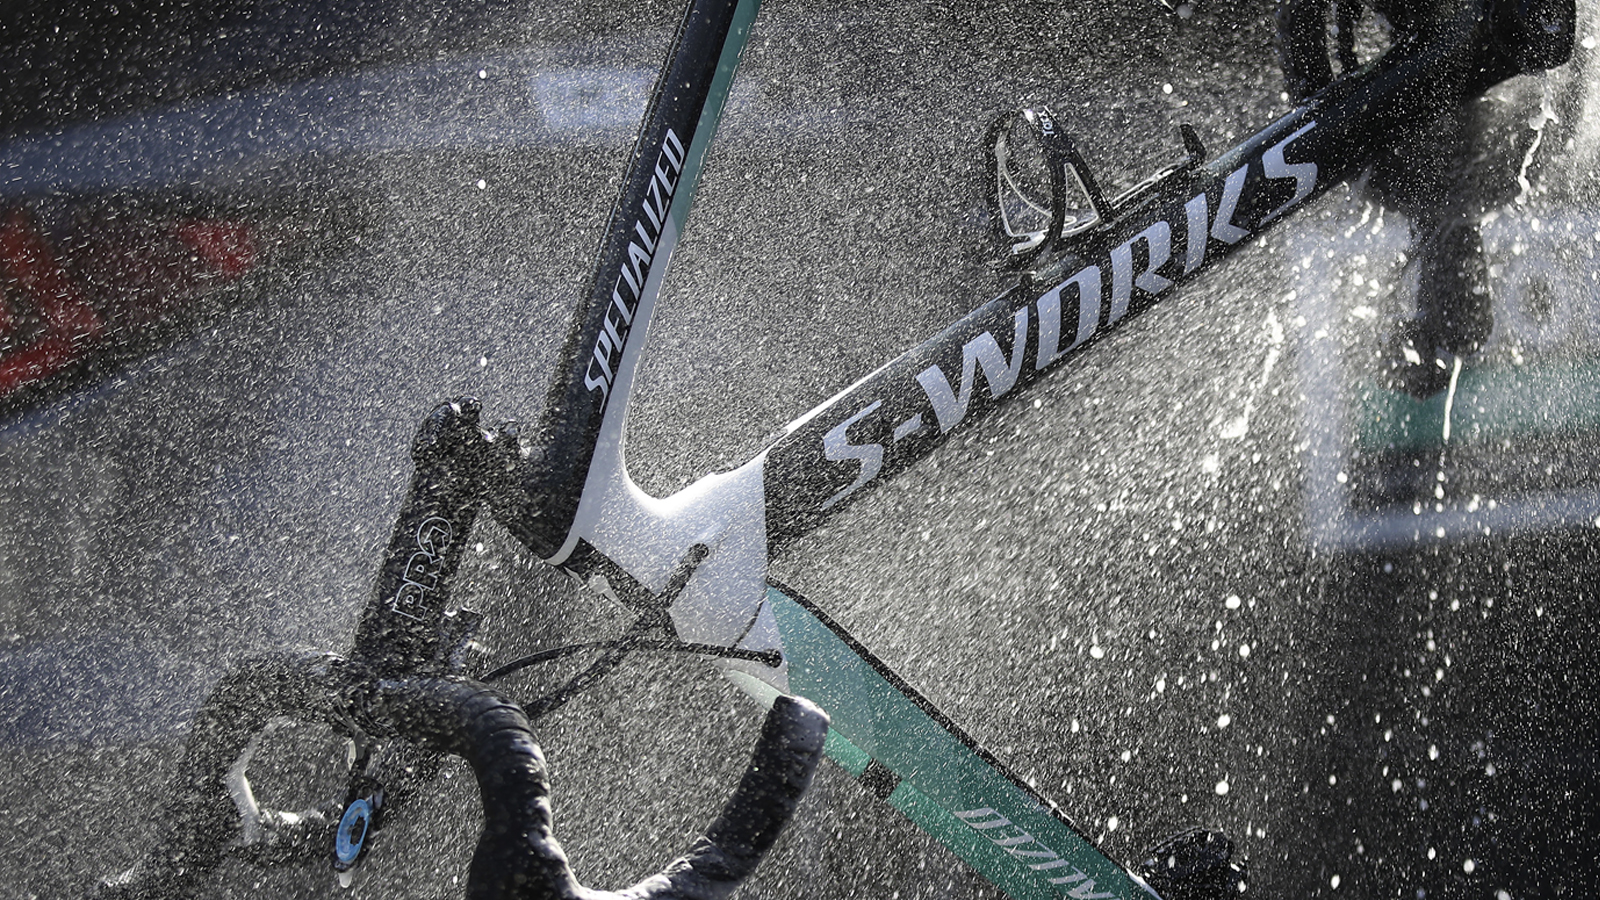
A liberal sponging of warm water, (or better yet, warm water mixed with concentrated bike cleaner) will remove the worst of the mud and grime, and soften up the tougher stuff for step 2.
Step 2: Spray time
Use a spray-on degreaser liberally, focussing on areas that require the most attention. Leave it for a few minutes to work its magic and break down the dirt on your bike. The time you'll need to leave it will depend on the degreaser being used, the bottle will often have instructions to help you here but, if not, a couple of minutes will often be plenty.
Step 3: Agitate the worst
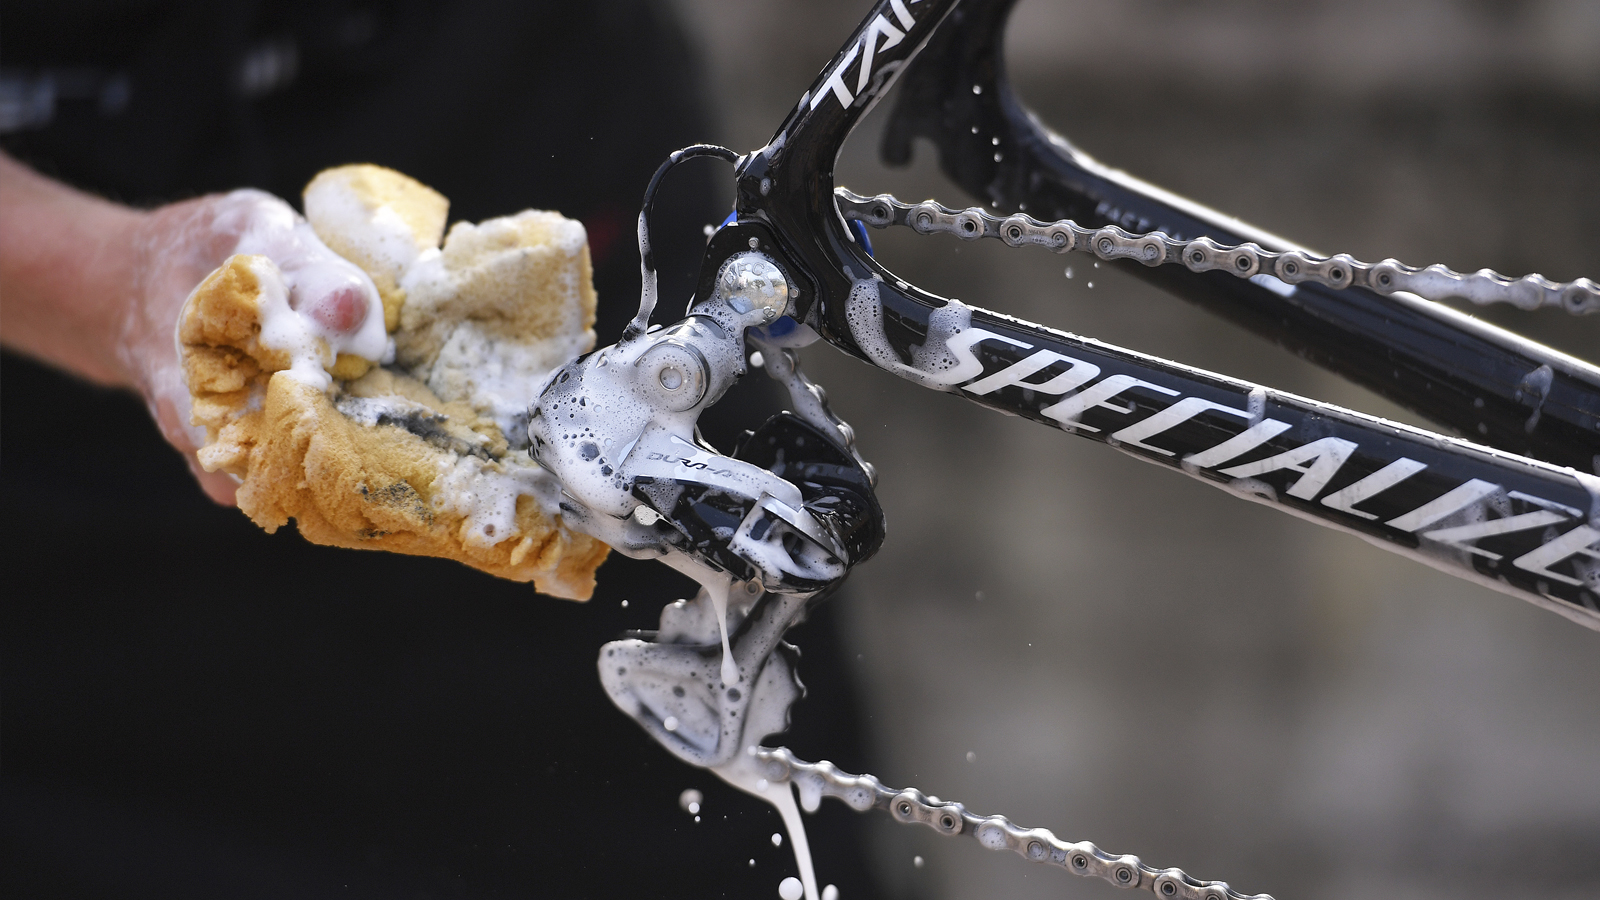
Agitate the dirt on your drivetrain using a stiff-bristled brush. An old toothbrush works well, or a stiff-bristled brush is best, and a dedicated cassette brush is great for getting between the sprockets. Wash the worst of the grime off the brushed once you're finished.
N.B. Don't use your mum's toothbrush, she won't be impressed.
Step 4: Get clean water
If your bucket of water is now as muddy as the bike you're cleaning, go and fetch some more while you wait for the degreaser to do its thing.
Step 5: Clean the chain
A photo posted by @juicelubes on Apr 24, 2020 at 9:03am PDT
If you're using a chain cleaner, have at it. Otherwise, soak a clean rag in degreaser, place the rag in your hand, loosely wrap your hand around the chain in front of the rear derailleur and backpedal, allowing the chain to run through the soaked rag in your hand.
Step 6: Wash it down
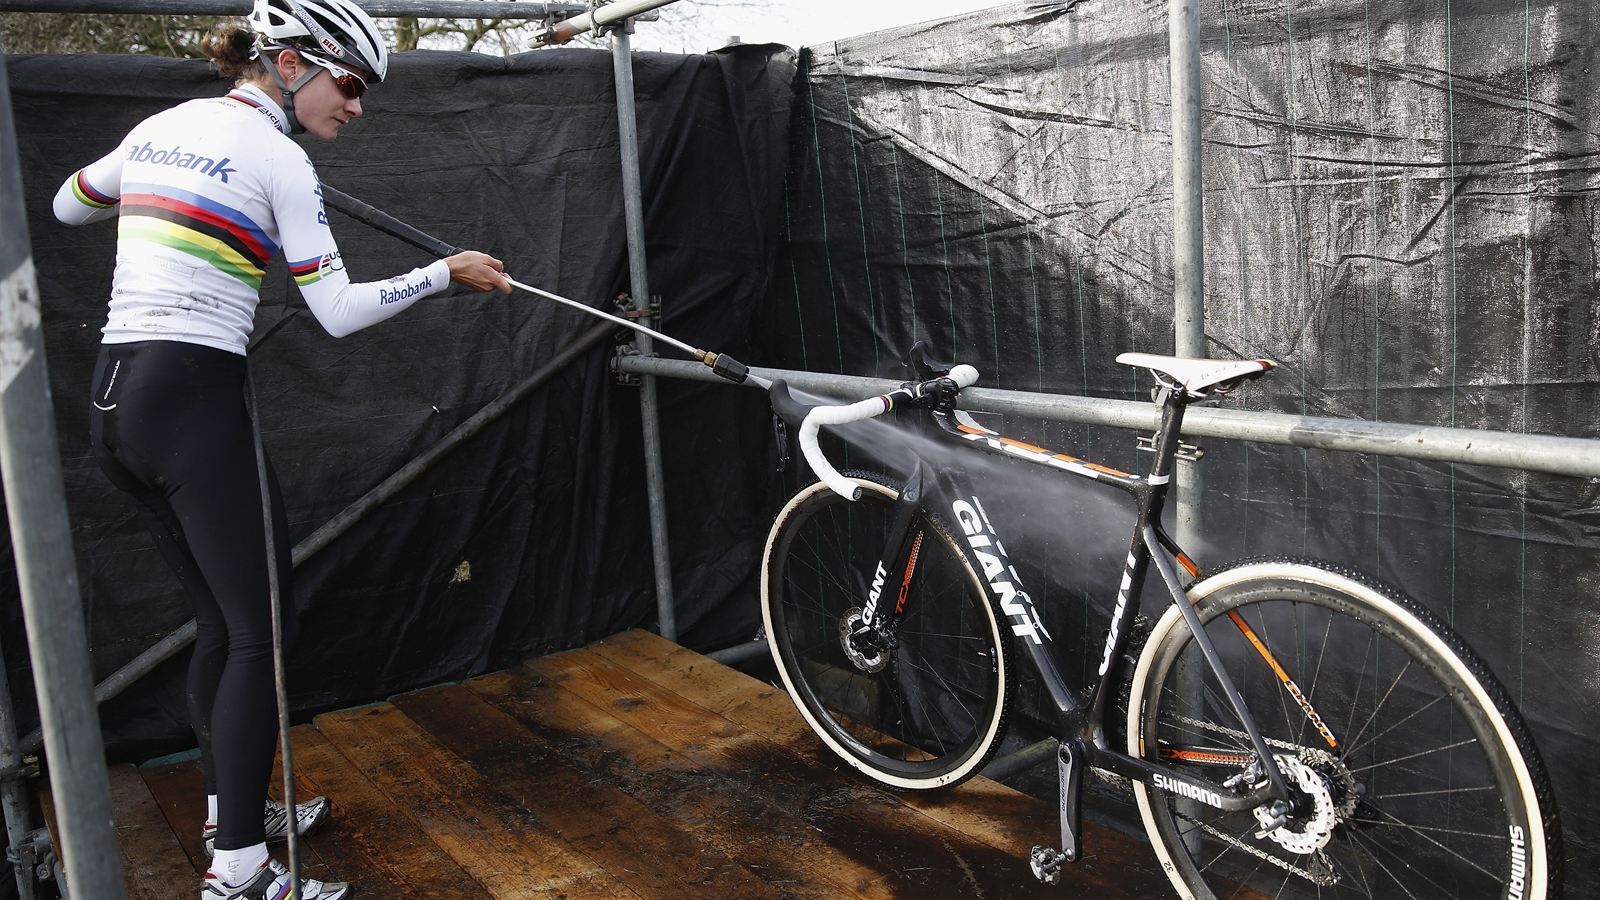
Using clean water, use a clean sponge and brushes to wash the worst of the grime away from your bike. Start at the top and let gravity work in your favour.
Step 7: Wipe away any excess dirt
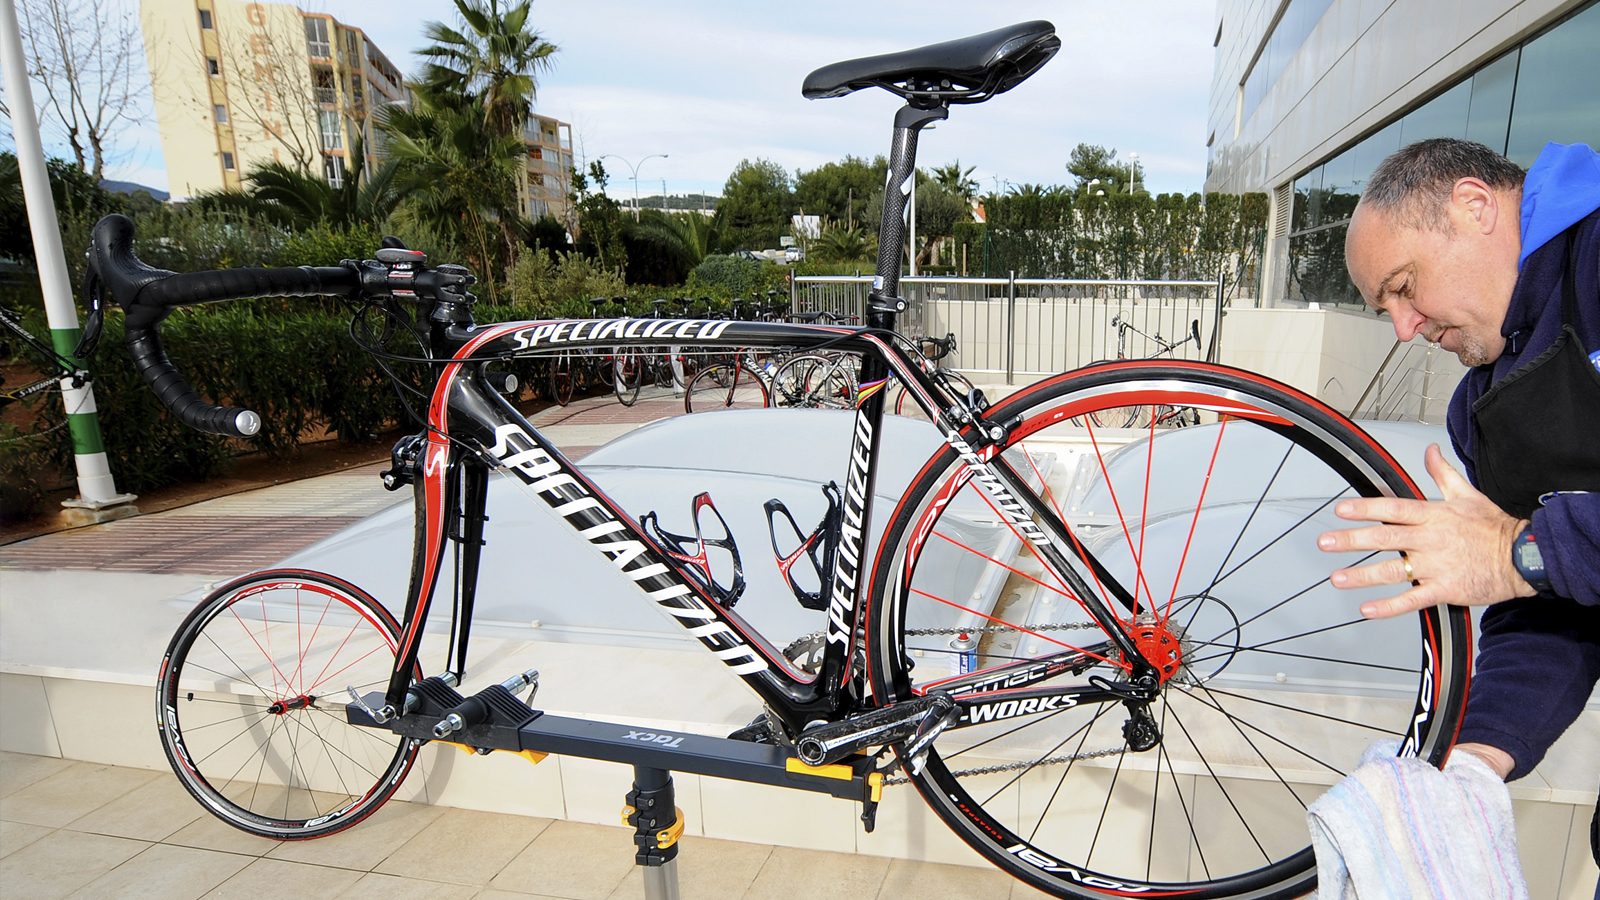
If you've agitated the dirt on your drivetrain well enough, it should wash away and leave behind a nice, clean drivetrain. Take a clean cloth and go back over anything you missed.
Step 8: Dry it
Once you're satisfied that your bike is clean, make sure you dry it. An air compressor is the dream tool for this, but a dry cloth will do the job just fine. Remember to focus on important areas such as your drivetrain and brake calipers. A bit of water on your painted top tube won't cause issues, however, a wet chain left to stand will lead to surface rust.
Step 9: Lube your chain
With your now clean and dry drivetrain, there's unlikely to be any lubrication left. Ensure you re-lubricate your chain to keep things running smoothly, and to stave off the worst of the weather on your next ride.
Step 10: Tidy up
You'd be amazed at how much quicker a bike can be cleaned when everything is easily found and accessible. Having everything to hand means you don't spend half your time walking back and forth into the garage to grab this and find that.
For me, once the bucket is empty, a throwaway cloth is used to wipe it down, then everything goes into the bucket, disposable things like clean cloths and nitrile gloves are kept in the garage right next to the bucket, and then when it comes to a bike clean, I grab the bucket, a pair of gloves and a few cloths.
Step 11: Go and get it dirty again
If you weren't going to ride it again, what was the point in cleaning it?
Get out there and ride.

Josh is Associate Editor of Cyclingnews – leading our content on the best bikes, kit and the latest breaking tech stories from the pro peloton. He has been with us since the summer of 2019 and throughout that time he's covered everything from buyer's guides and deals to the latest tech news and reviews.
On the bike, Josh has been riding and racing for over 15 years. He started out racing cross country in his teens back when 26-inch wheels and triple chainsets were still mainstream, but he found favour in road racing in his early 20s, racing at a local and national level for Somerset-based Team Tor 2000. These days he rides indoors for convenience and fitness, and outdoors for fun on road, gravel, 'cross and cross-country bikes, the latter usually with his two dogs in tow.