Indoor cycling tips: How to get the most from your indoor trainer setup
New to indoor cycling? Here are a few tips from the Cyclingnews team to help you hit the ground spinning

When it comes to indoor cycling, there are several things that you can do to make the experience more enjoyable both in the short term and the long run. From fueling properly, to checking your handlebars, here are our top tips and tricks to make your indoor cycling experience better.
1. Find the right space

The space where we do our indoor cycling has long been referred to as the ‘Pain Cave’, though this is a horribly masochistic term. It all stems from the fact that the indoor trainer was historically almost exclusively for high intensity efforts, it was a bit of a pain, and often was done in a cellar, garage or shed. All of these locations still present a useful location to do indoor training, especially as they often have a hard floor surface which makes for a very stable platform.
One thing to make sure is that the floor is relatively level, as you don’t want to be riding your bike at an angle. A lot of smart trainers allow for adjustments under the feet to level out the bike, or you can place wedges underneath ones without this capacity.

A hard floor is best, though with an appropriate mat you can get away with doing it on carpet, but it can leave a bit of a spongy feel if it's particularly deep pile.
A room with windows can also be ideal both for letting in light, but more importantly being able to be opened to allow better airflow. Which brings us onto our second point.
2. Keep it cool

Riding indoors, even in the winter, can become quite a warm affair. As we exercise, for every joule of energy we make that contributes to putting power through the pedals, we make around 3-4 joules of energy that goes to creating heat. Given that there is no airflow from travelling at speed, and indoor sessions often include an element of intensity, these sessions can get very hot.
The best way to combat this is a fan to give some airflow over the skin and allow evaporation of sweat. You can get smart fans like the Wahoo Kickr Headwind which link to heart rate or even simulate the speed you are riding virtually. These are definitely great to have if you can afford them, but if you're just starting out then a basic desk fan will do the job admirably.
The latest race content, interviews, features, reviews and expert buying guides, direct to your inbox!
Keeping airflow through the room will also help massively to reduce the total temperature of the room as it builds up through your session, and allow convection currents to cool you down further. This can also help reduce the buildup of any moisture in the room. For rooms without windows for airflow, a dehumidifier can help reduce the overall perception of high temperatures, but also keep the room in better check if doing lots of long indoor sessions.
3. Don’t forget to eat and drink
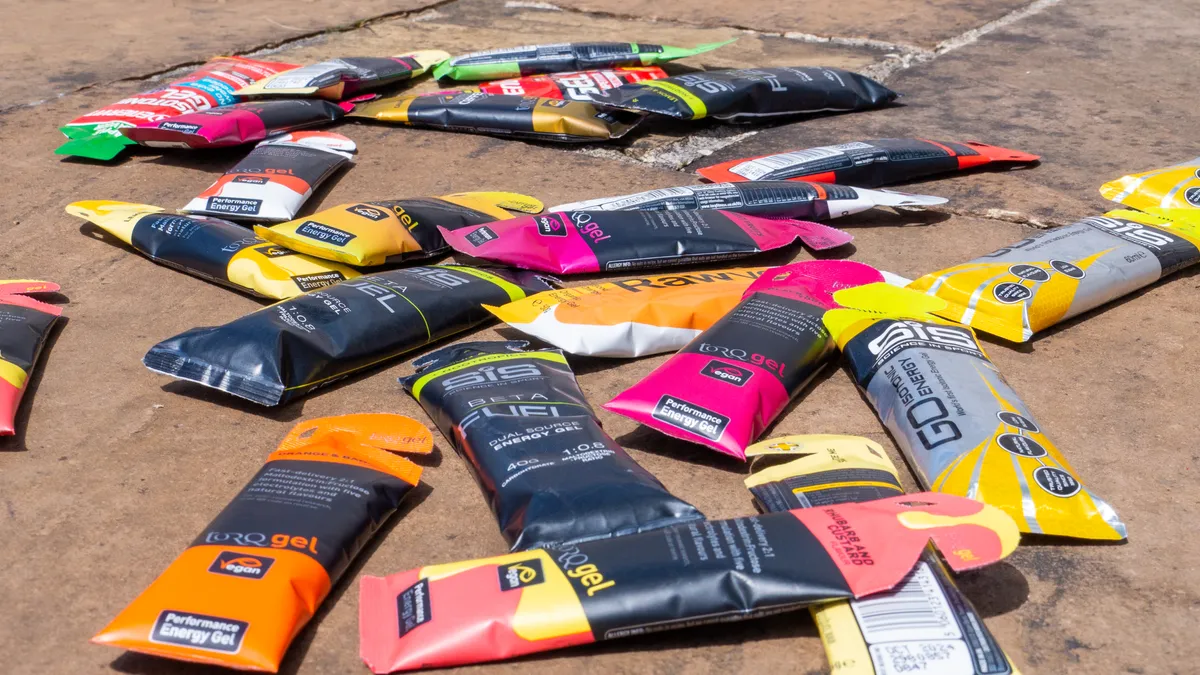
On the subject of heat, you need to make sure you are drinking plenty during your sessions indoors. With more heat, and more fluid and sodium loss, it’s important to rehydrate. Along these lines, it’s also very important to fuel your sessions properly.
If you want to know just how much salt it's possible to lose riding indoors, we've tested a realtime hydration sensor and the volume of salt needed to replenish just an hour on the indoor trainer is wild.
Given the propensity for higher intensity during indoor sessions, we will likely use a higher proportion of carbohydrates to fuel our sessions. We also use more carbs during warmer temperatures, another reason to ensure adequate fueling during our indoor sessions.
4. Get your entertainment sorted

With the likes of Zwift, Rouvy, SYSTM and MyWhoosh, we have plenty of options to keep us entertained while cycling indoors now. You can use these apps on something like a smartphone, or you can opt for a bigger screen like a tablet or laptop.
Some people even go for full TV setups to bring a really immersive experience. For those opting for portable screens, it’s important to keep the screen closer. A music stand makes for a great platform to hold a tablet or phone, as well as storing snacks and any other things you might need while riding.
For some of us though, the thought of riding indoors without music is horrible. Our guide to the best headphones for cycling is full of sweat resistant options that can withstand the hardest interval sessions.
5. Wear the right clothing

There are a lot of indoor specific clothing options available now which can enhance your indoor riding experience a bit - our guide to the best indoor cycling clothing has what we think are the best options - but for most people, especially when just getting started, you can get away with just using summer riding gear.
Because there's less in the way of airflow you may want to wear a cap or even a headband in place of a helmet to stop sweat from dripping into your eyes, and having a small towel nearby is really handy for mopping yourself down between intervals to save it from dripping onto your bike and corroding it.
6. Change your bar tape and check your bars

With the increased heat, and increased sweating, something a lot of riders neglect to do is check their bike for sweat damage. Sweat is a corrosive fluid thanks to all the salt in it, and over time it can cause your bars to corrode to the point of breaking. If this happens indoors it's annoying, but if you take your bike outside after a hard winter of indoor training and they snap on a descent it can be disastrous.
This corrosion doesn't only impact the bars. If you're constantly dripping you can do real damage to your headset, steerer tube, and stem.
A towel can negate or slow down the onset of damage to the handlebars, but it’s also a good habit to check under the tape to see how your bars are faring. It’s also sensible to change your bar tape out when it starts to look or smell a bit funky.
We've got a whole guide on how to sweat-proof your bike for indoor training, and if you do need to swap the tape then check out our guide to the best bar tape so you can get something that works well indoors and outside too.
7. Don't forget to clean your bike

For those using a regular bike on an indoor trainer, it can be easy to think that because we’re not riding outdoors, we don’t need to clean or maintain our bike. Even using summer lubricants or wax on our chains for indoor riding, they will still need to be regularly regreased or waxed. Dust will still attach to the chain and cause some wear to it, so you also need to keep an eye on overall chain wear with a checking tool.
You should also consider what gear you spend most of your time riding in, as people who use ERG mode often tend to stay in the same sprocket for a long time. This can lead to uneven wear on one sprocket rather than across the whole block. It can be sensible to make sure you change which gear you regularly use if you do use ERG most often, or switch to something like the Zwift Cog so you aren't wearing out your cassette at all.
8. Try some structured workouts or a training plan

Many indoor training apps feature a huge variety of structured workouts and training plans. Having a go at different sessions with different specific intervals and targets can not only keep training interesting with the variety, but also help with training gains.
Varying stimulus is one of the key requisites for enhanced training gains, so going out of your comfort zone and trying some new efforts, sessions, or plans can have a really positive impact on your training over the winter.

Freelance cycling journalist Andy Turner is a fully qualified sports scientist, cycling coach at ATP Performance, and aerodynamics consultant at Venturi Dynamics. He also spent 3 years racing as a UCI Continental professional and held a British Cycling Elite Race Licence for 7 years. He now enjoys writing fitness and tech related articles, and putting cycling products through their paces for reviews. Predominantly road focussed, he is slowly venturing into the world of gravel too, as many ‘retired’ UCI riders do.
When it comes to cycling equipment, he looks for functionality, a little bit of bling, and ideally aero gains. Style and tradition are secondary, performance is key.
He has raced the Tour of Britain and Volta a Portugal, but nowadays spends his time on the other side of races in the convoy as a DS, coaching riders to race wins themselves, and limiting his riding to Strava hunting, big adventures, and café rides.
