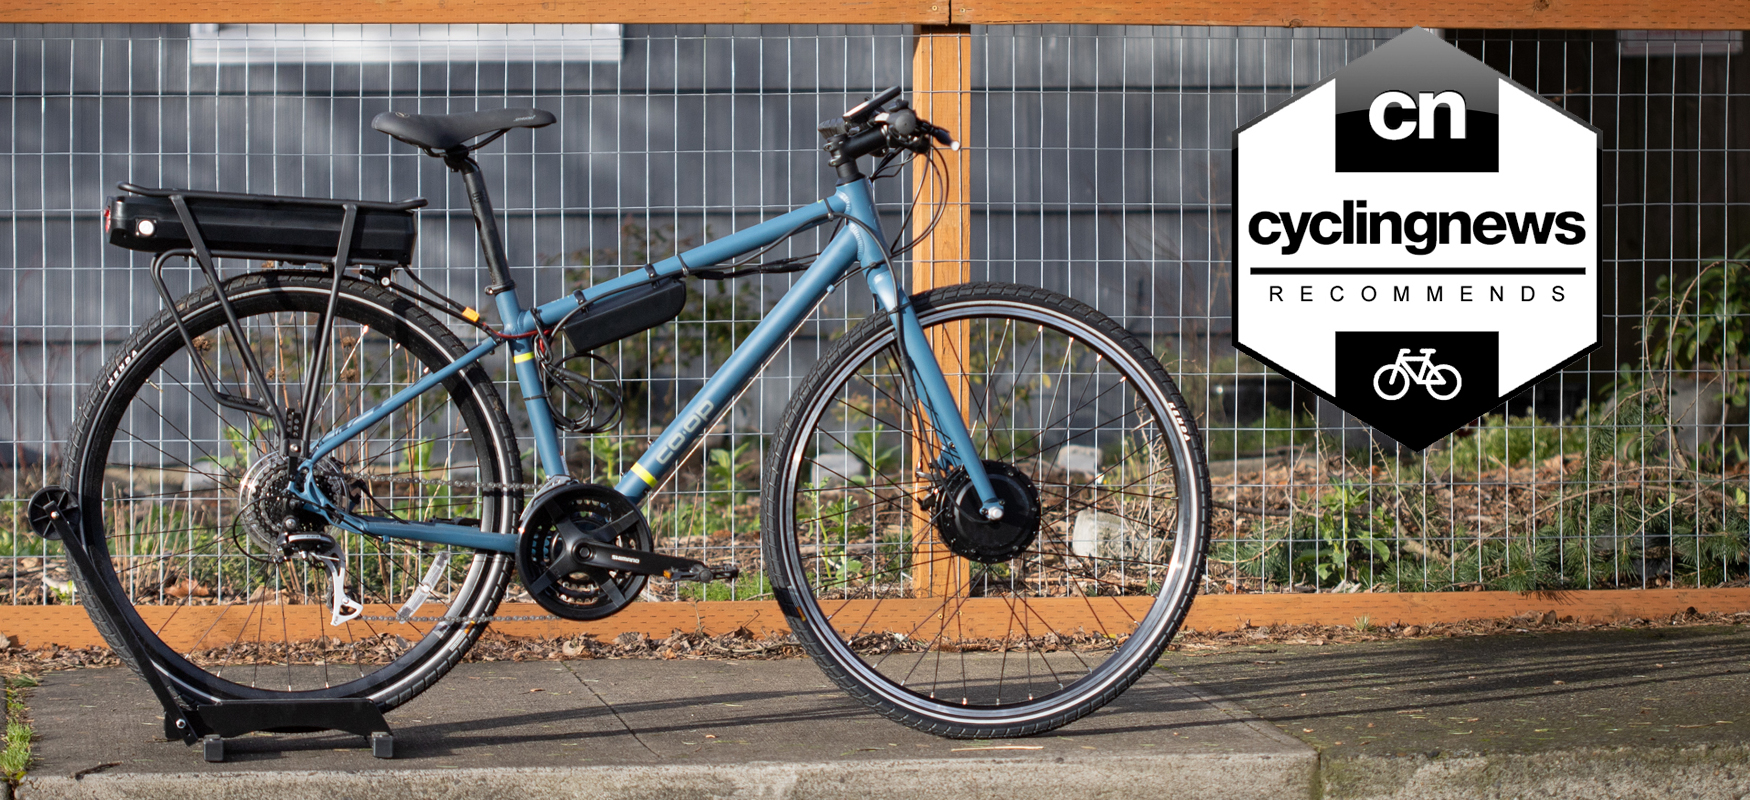
Cyclingnews Verdict
A high-quality kit that's fun to build and has a ton of options. As long as you have a decent bike to convert, the assembly isn't difficult and the end result is great
Pros
- +
Relatively easy setup
- +
Powerful once converted
- +
High quality components
- +
Great ride quality
- +
Control for every component is in your hands
Cons
- -
Cable management is a challenge
You can trust Cyclingnews
There's a lot of demand for electric bikes right now. Along for the ride with that is a lot of interest in the best electric bike conversion kits. For some people, it's a way to stick with a bike they already love. For others, it's simply the chance to spend time instead of money and get the same result. Another way that some people look at it is as a way to be a part of the process; a way to build and customise the vehicle that they then get to enjoy. For that angle, a Bafang Front Hub Motor Electric Bike Conversion kit fits the bill perfectly.
Just because you want to be a part of the process, that doesn't mean you aren't still looking for a good price on a quality system. We wanted to make sure that's what the Bafang Front Hub Motor Electric Bike Conversion kit represented so we took the plunge and bought one. After having spent the time to put it together and enjoy the ride, we are ready to report back on what the process is like from beginning to end.
However, before we get into it, a disclaimer: the following BAFANG kit, as tested, includes a 500w motor, a throttle and a maximum speed limiter of around 25mph. This puts it well beyond what constitutes permissible by law as an electric bicycle in many countries. In the United Kingdom and mainland Europe, for example, e-bikes must operate as a pedelec - in that the motor only engages in line with the rider's pedalling input - and provide assistance up to a maximum of 25km/h. A bike converted with this BAFANG kit, therefore, would be considered a moped and would need to be ridden on the road and insured as a motor vehicle.
In the United States, things are a little more complex. You can read the details in our guide to the three e-bike classes, but to summarise, once converted with the following BAFANG e-bike conversion kit, your bike will become a 'class three' e-bike -the highest class available - and you should check your State laws surrounding where you can ride it, as well as insurance and helmet regulations.
With that out the way, if you are thinking about converting your bike to an electric bike, keep reading to see what we think of this system.
Installation
The kit came split between two boxes. One contained the battery, wiring, controller, and display and the other had the wheel with the integrated motor. This is because during order there are a ton of options for different configurations. There are six different battery options or no battery, then you can choose between three different wheel sizes or only the battery. Among the options for wheel sizes, there is also a choice of displays.
The only confusion was from Amazon who marked the kit delivered after the first box arrived. The components box shipped from the US while the wheel came from China and they didn't arrive at the same time. I contacted Amazon who contacted the seller, and they assured me another box was on the way and would be there soon.
Once all the pieces arrived, I opened up the boxes and got started with the instruction manuals. There are two instruction manuals with one covering the battery and one covering everything else. My kit has the 48V17.5Ah rear battery (840Wh) and a rear rack to house it and I started there. There's a rear section that the battery connects to and locks with a key. The rear section needs to be securely mounted to the rack along with a bottom tray that guides the battery in. Once that's attached, mount the rack like any other rack. If you go this route, first make sure that your bike has attachment points for a rack. The battery is heavy and you'll need a solid attachment.
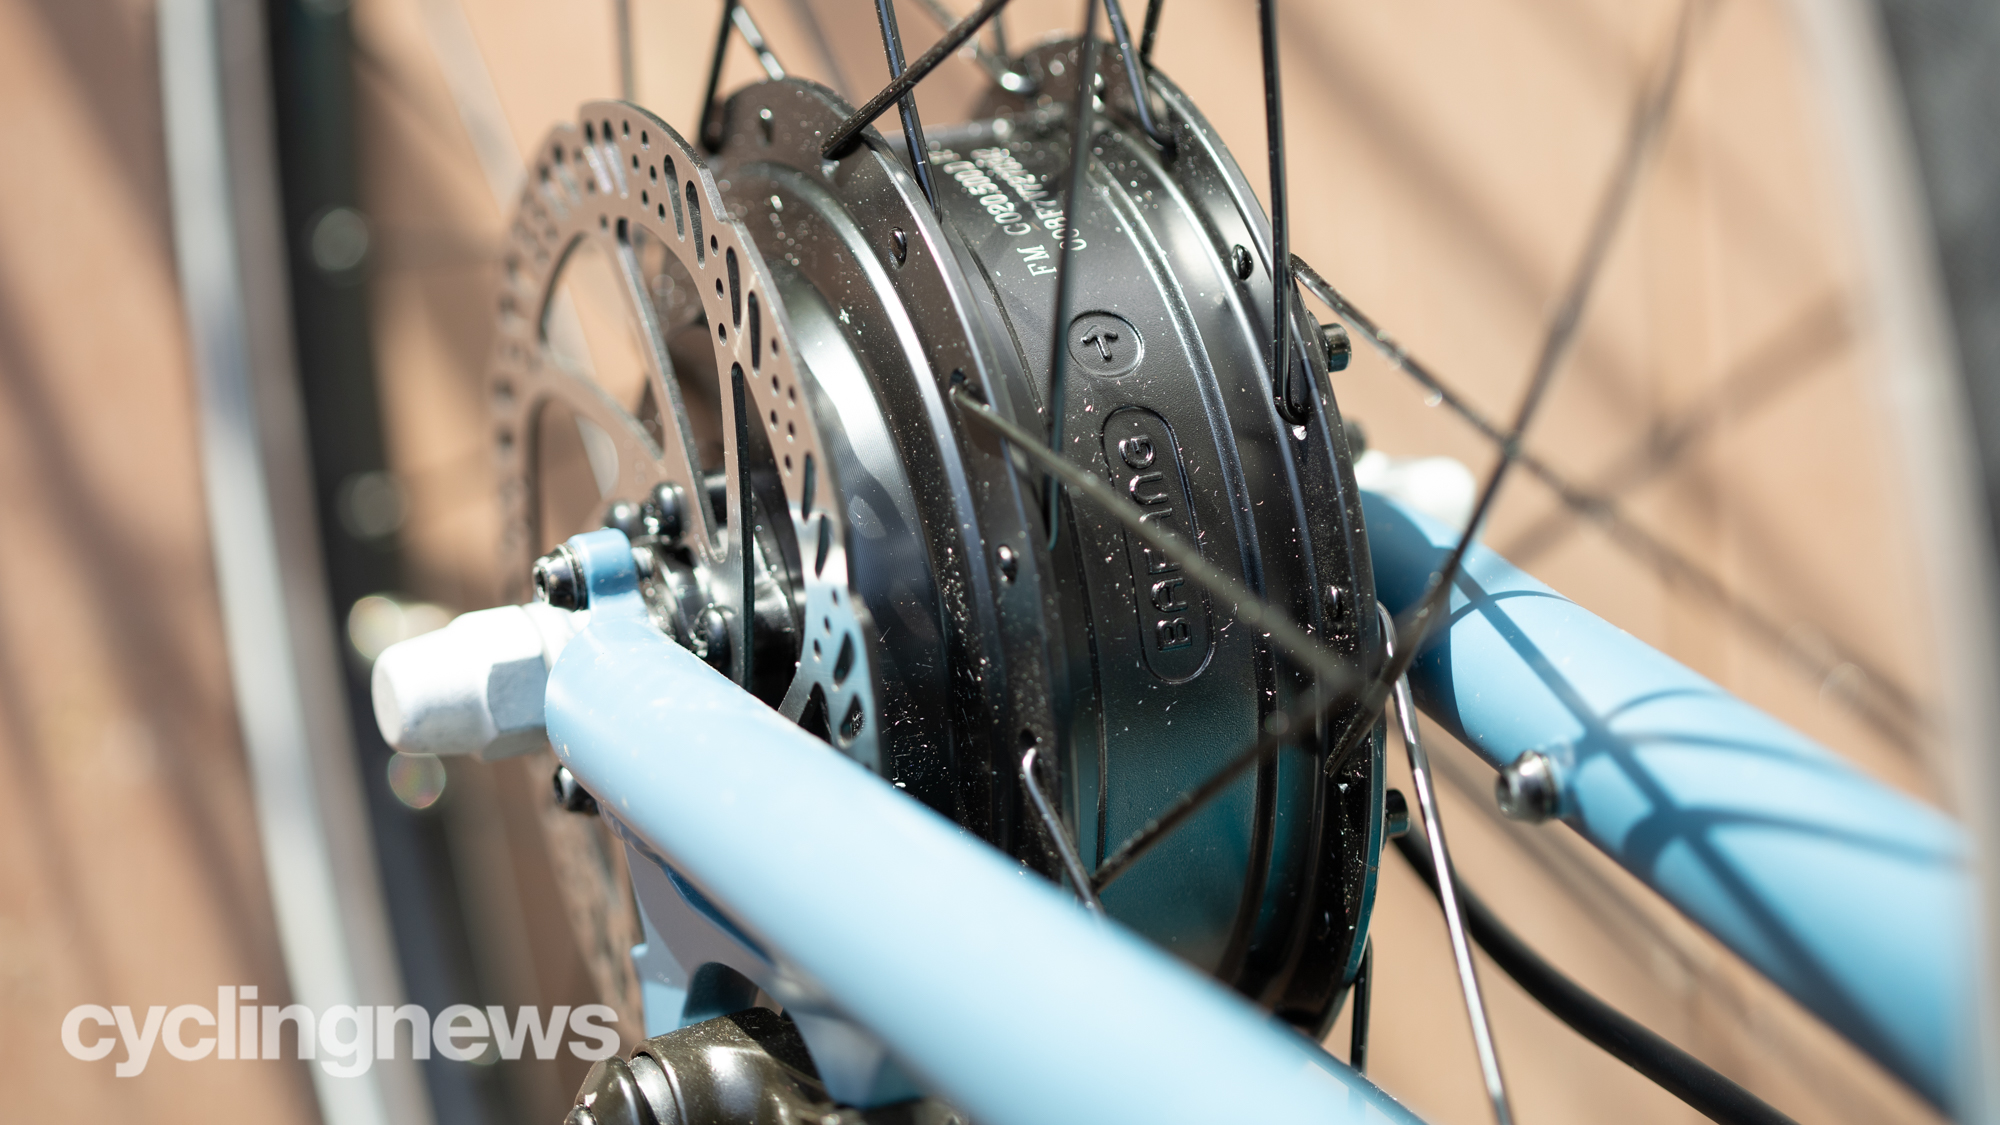
With that done, the first step for the rest of the kit was swapping over the front wheel. After my experience with the Swytch e-bike conversion kit, I remembered to check the tyre for a directional arrow and save some time. The wheel has a design that accommodates both disc brakes and rim brakes but for disc brakes, you'll need a T25 tool. Once that's mounted, you'll need to figure out the correct washers for your application and it's just a matter of bolting on the wheel.
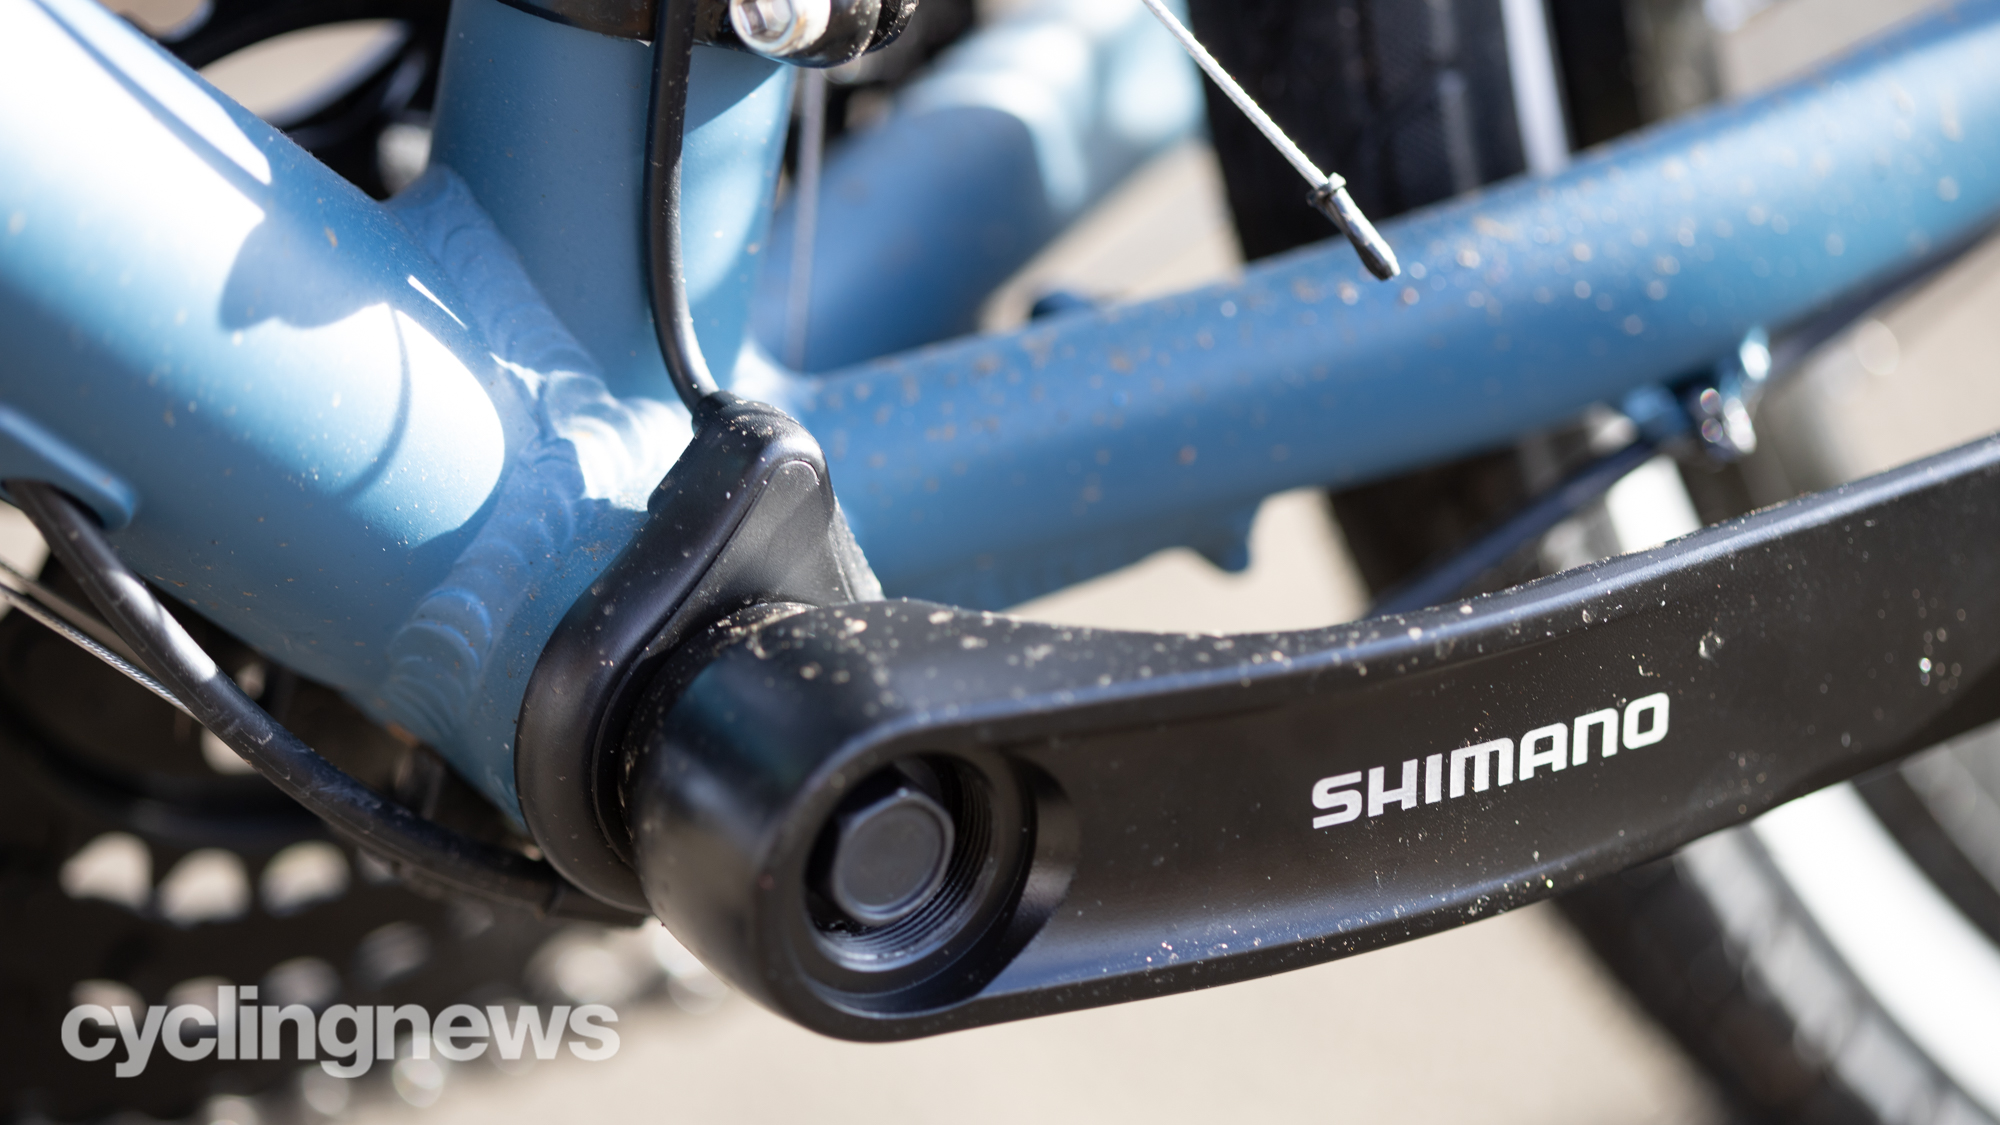
Next up is the pedal-assist sensor or PAS. The kit includes two options depending on your needs. I was able to use the preferred, left side sensor which mounts as a single, compact unit. In my case, I needed a square taper crank puller tool, but once the crank arm is off, the PAS fits in and the crank goes back on.
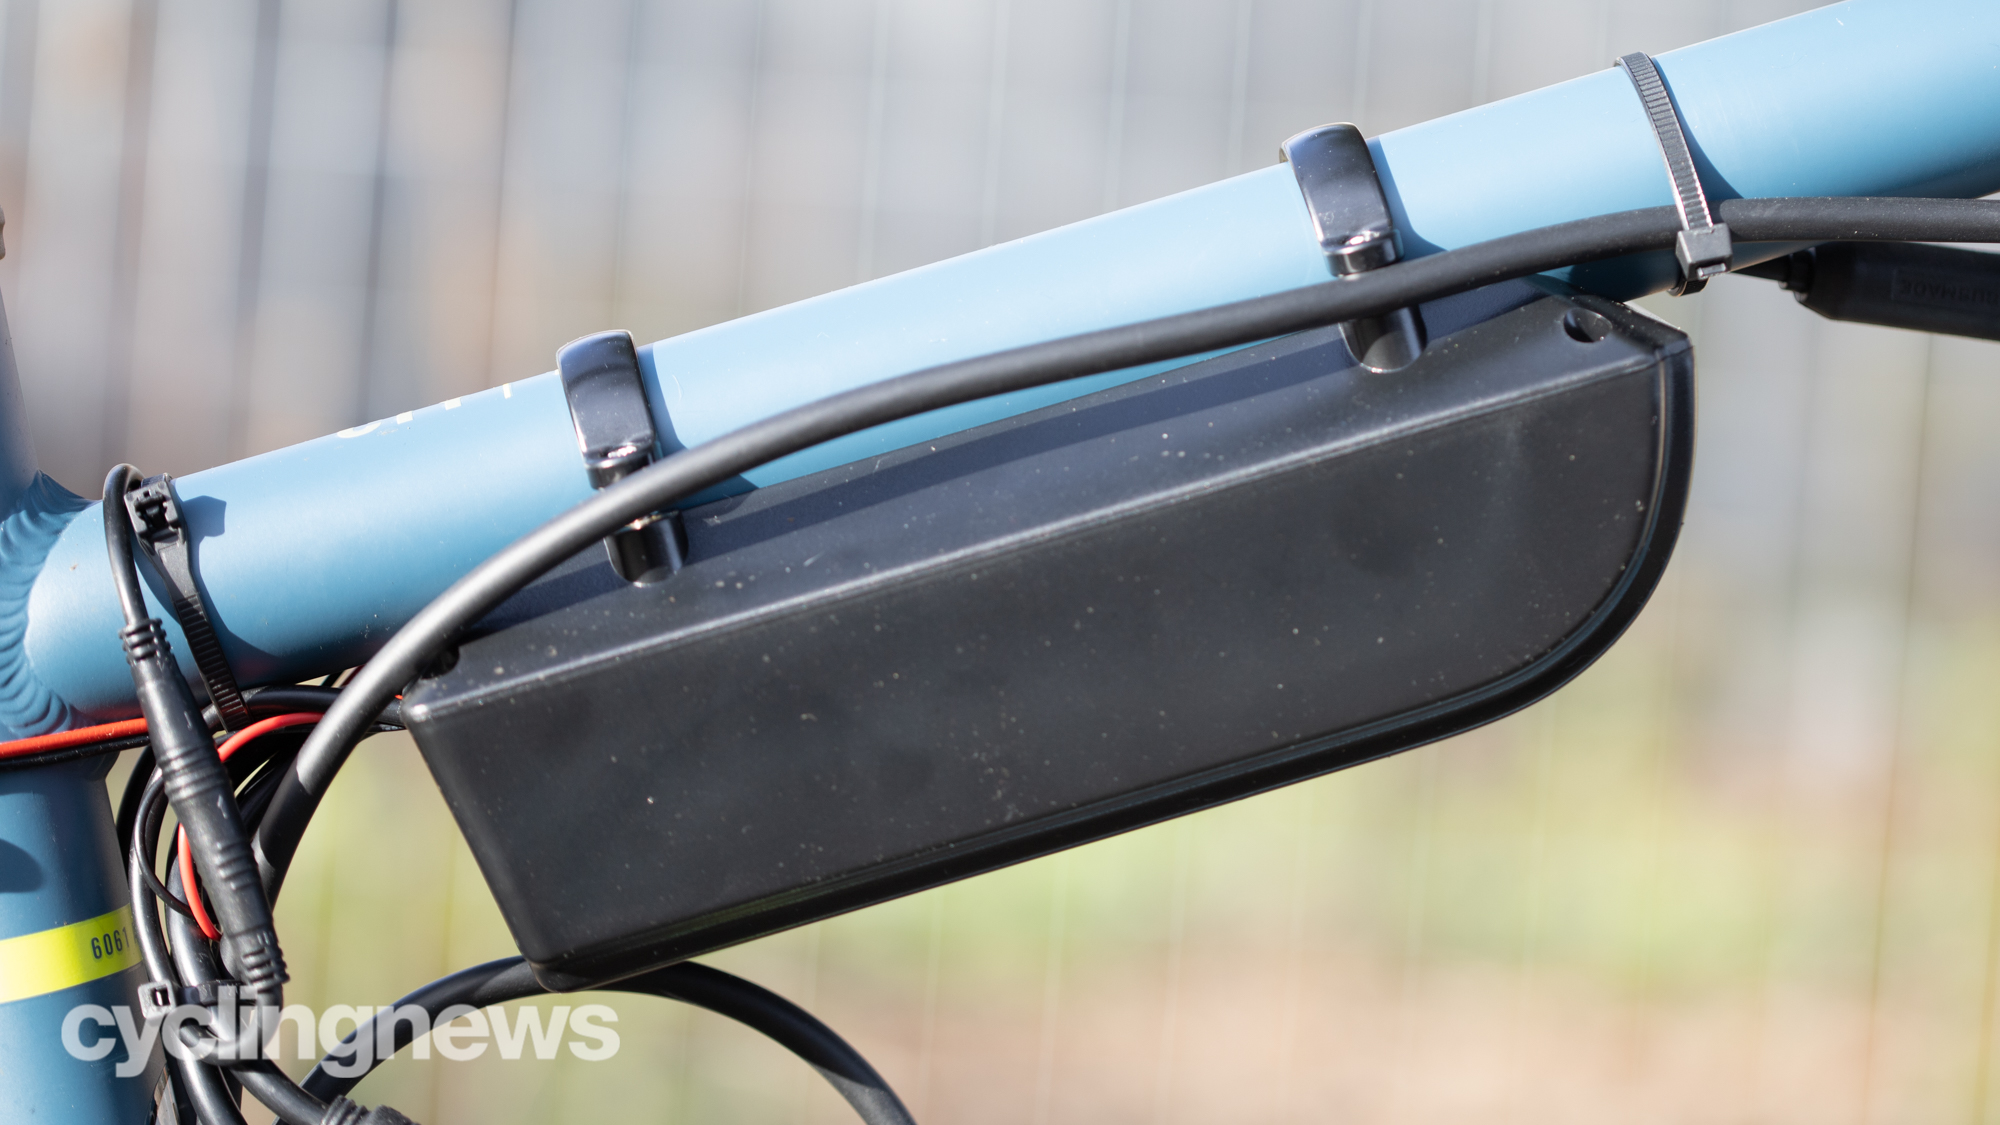
After you've got the PAS sensor mounted, it's time to make a decision about the controller box. There's a plastic mounting box that the controller fits inside of and brackets that hold everything to the downtube or the top tube. It's all very simple but you'll need to decide how you want to route all the wiring. I allowed the relatively short wiring to the battery to guide my decision. The kit includes leads for extending the battery cable but I decided I'd rather leave things as they were.
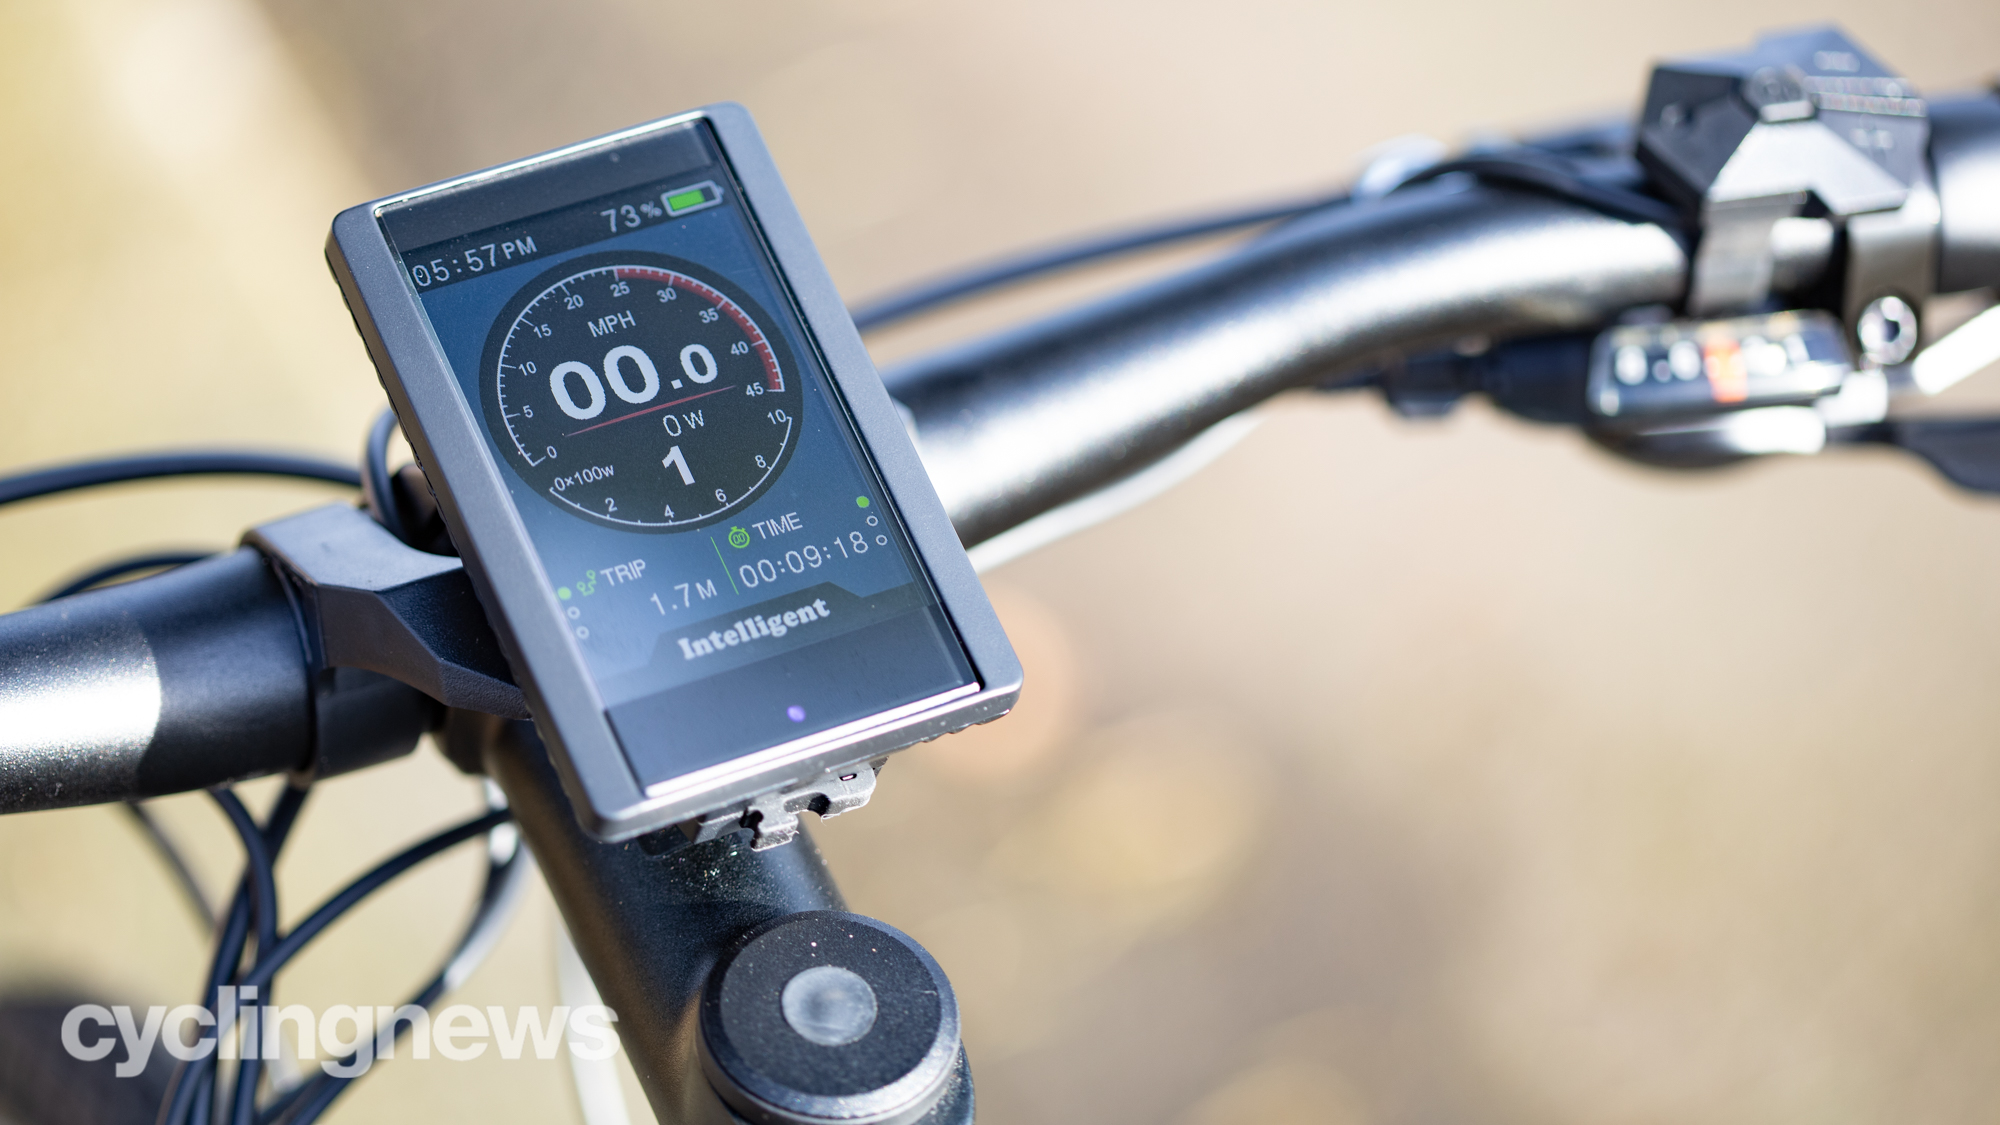
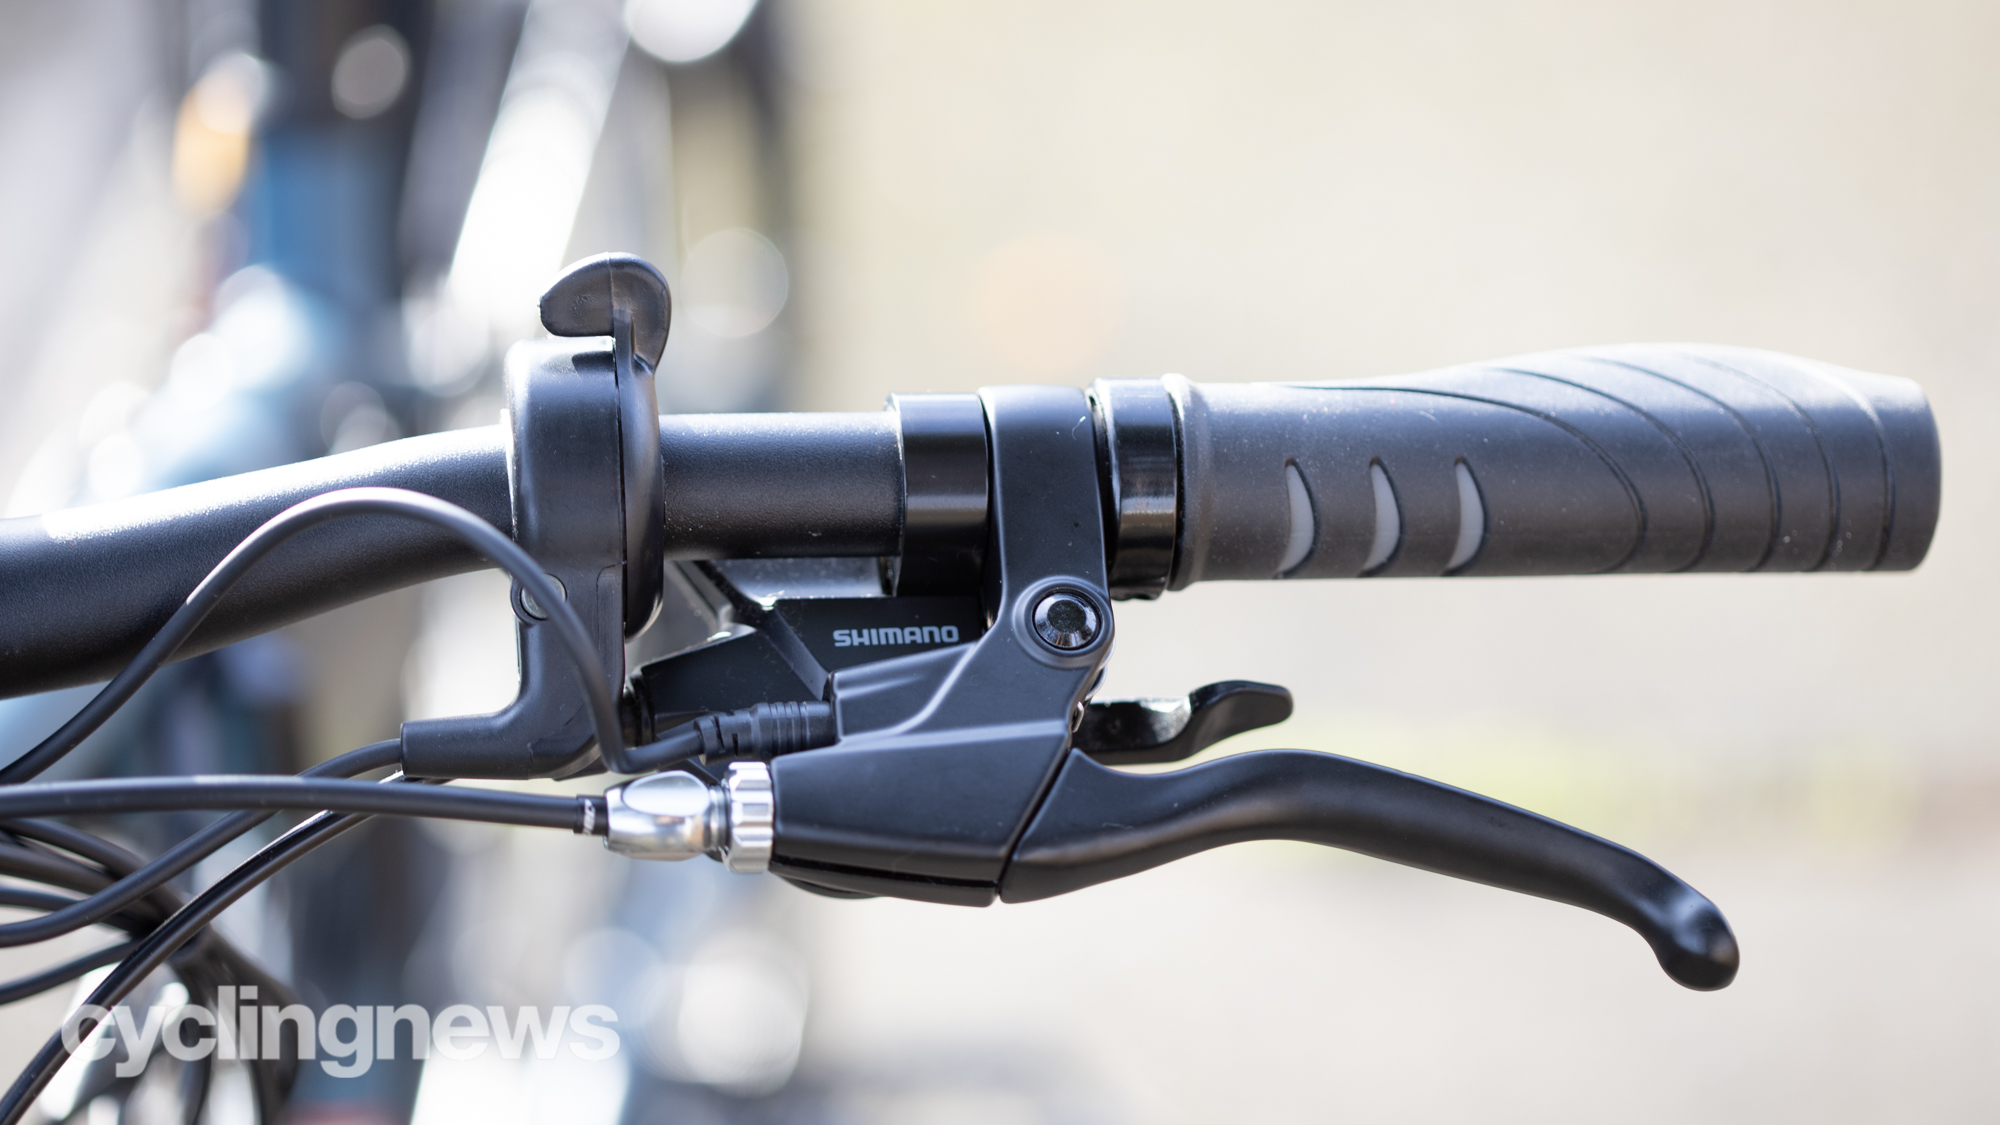
The last pieces are the controls. You'll need to mount your display, the control for the display, the throttle lever, and the replacement brake levers. My kit included the P850C display and I mounted it over the stem. None of the pieces were difficult to mount, just take your time and work through everything one task at a time.
With all of the pieces mounted, the last task is routing the wiring. I've never been much good at finishing details on any project and I actually found this to be one of the most challenging tasks. There's a wiring harness that connects to each of the items at the controls, all colour coded, and takes them to the controller and it's long. There's also a generous length of wire that connects the motor to the controller and in both cases I didn't come up with a good solution for making it look great. I was able to use zip ties to route it safely and out of the way but it's definitely visible.
Performance
The assembly process took me about six hours. A lot of that time was doing things and re-doing things because I'm not a fantastic bike mechanic. I had to stop part way because I didn't have the crank puller for the crank and I had to order new torx bolts for the disc brake rotors after stripping one of them. None of it was hard but I worked slowly until I plugged in the last wire, lifted the front wheel, and hit the throttle to see that everything was working.
The assembled bike is heavy because the battery is big. Ebike range ratings are tricky to start with and in this case there's no mention of what you can reasonably expect. There are other bikes available that have a similar battery and motor though. Quoted range tends to be 60-100km (30-60 miles) so if that's more than you need, a lighter battery will make things easier. If you've got the big one, it's easy to remove the battery to tackle a flight of stairs. I only have a few stairs to get to the street and found it manageable even with the battery installed.
Standing on the street it was time to see how it worked. I turned on the display with a long press and the big display greeted me with a yellow "hello" screen. A double click on the remote for the controller enters the settings and I swapped things to imperial units before setting my assistance level and heading off.
The system handles like every inexpensive electric bike I've ever tested. It's powerful and picks up quickly, and being cadence based means you'll want to use the gearing on your bike to turn the pedals lightly if you'd rather not work much. You can also just push on the throttle and not bother pedaling at all, but of course, bear in mind that the existence of a throttle will make the system illegal in many countries, and push it into the higher e-bike classes in the USA.
No matter if you are pedalling or using the throttle, the assistance level sets the top speed. I was able to get up to a little above 25mph at the max assistance level but I find that speed somewhat unpleasant to cruise at. You could pedal a bit and let off, allowing your speed to go up and down as you feel comfortable, or just drop down to the second or third assistance level. If you hit the brakes the motor will shut off rather than attempt to fight the brakes.
One of the advantages I found about this system was the base bike I was using. It's an inexpensive city bike and the gearing is a 3x7 system. That's a lot of gearing and much more than most inexpensive electric bikes. Finding a gear that lets you pedal without working much is a lot easier even when a hill slows things down a bit.
The P850C is a gorgeous colour display that's easy to see even in bright light. It also shares a ton of info but if you decide to try out a kit, I'd probably recommend a cheaper display. The price difference isn't much but there are simple black and white displays that have all the info you need and it's even easier to read.
The only problem I experienced with the BAFANG Front Hub Motor Electric Bike Conversion Kit was my own fault. The battery pushes into its storage spot and feels secure. Given that on my first ride I wasn't planning on stopping, I never locked the battery and after a few miles the bike shut off. Even though everything is waterproof I suspected that the rain was an issue. Instead, the battery had just shaken itself loose. I pushed it back in and continued on my way. With the battery locked to the bike I never experienced another issue.
Verdict
Low end electric bikes have really dropped in price, and you can actually find bikes priced relatively close to this kit, but that doesn't mean the BAFANG isn't worth considering, since those bikes represent the low end of the electric bike options and they are still more expensive than the most expensive version of the kit. The bike you bring to the equation might also have advantages. In this case, the extended gearing isn't something you'd find on those low-end e-bikes.
Along with the savings comes a project and that's the part you will want to consider. There are advantages to this, especially if you want to build something unique. It would make a great option for a cargo bike as an example. It can also save you money by trading your time for money paid. At the same time, it is a process that will require a fairly significant time investment. As long as you are on-board with the process, you'll end up with a high-quality electric bike. You can take pride in having built it and it's going to cost less than off the shelf.
Tech Specs: BAFANG Front Hub Motor Electric Bike Conversion Kit
- Price: £ Depends on kit choices / $827.99 as tested / € Depends on kit choices
- Motor wattage as tested: 500W
- Wheel size as tested: 700c disc brake
- Battery size as tested: 48V17.5Ah (840Wh)
- Top Speed as tested: 25mph
- Assist sensor type: Cadence
Josh hails from the Pacific Northwest of the United States but would prefer riding through the desert than the rain. He will happily talk for hours about the minutiae of cycling tech but also has an understanding that most people just want things to work. He is a road cyclist at heart and doesn't care much if those roads are paved, dirt, or digital. Although he rarely races, if you ask him to ride from sunrise to sunset the answer will be yes. Height: 5'9" Weight: 140 lb. Rides: Salsa Warbird, Cannondale CAAD9, Enve Melee, Look 795 Blade RS, Priority Continuum Onyx
